15 Renter-Friendly Backsplash Ideas That Look Expensive (All Removable)
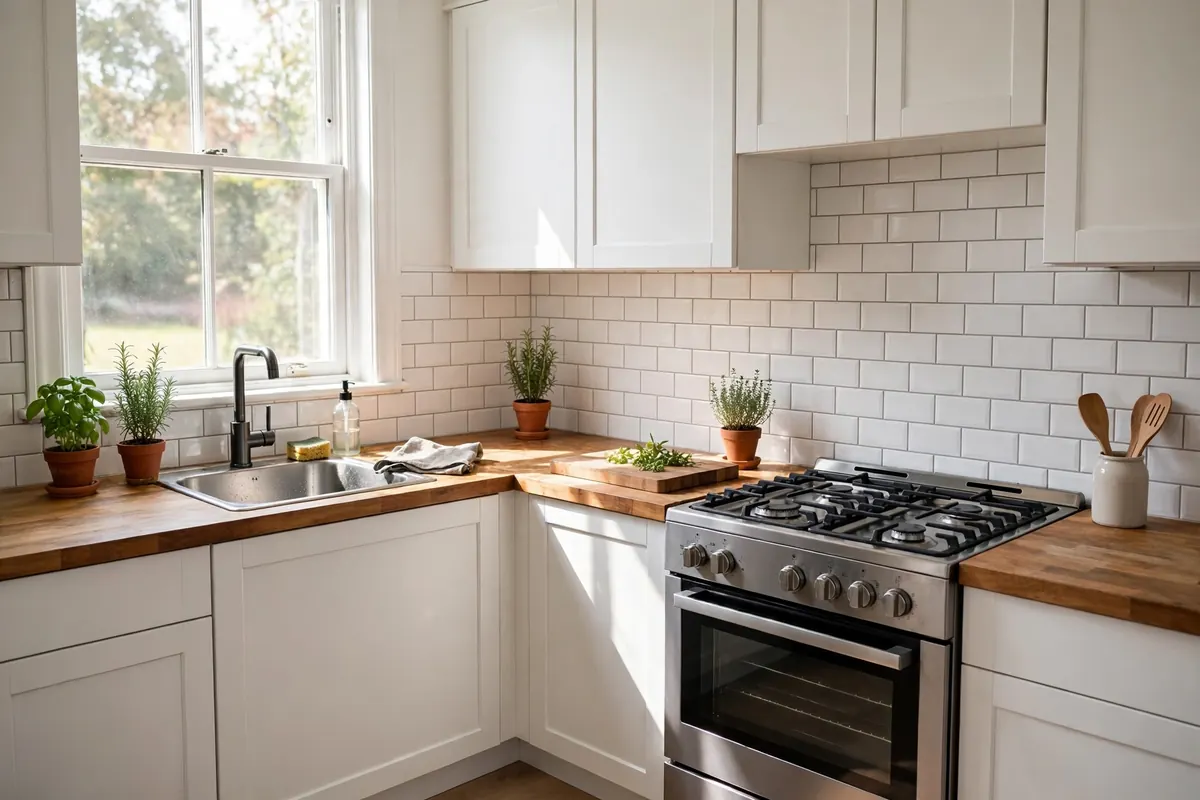
A renter friendly backsplash is a removable kitchen wall covering that upgrades the space above your counters without permanent installation. These renter friendly backsplash ideas use peel-and-stick tile, removable wallpaper, and adhesive panels that press on cleanly and peel off at move-out. Every option below installs in an afternoon with no drilling, no grout, and no landlord approval needed.
All fifteen ideas pass the same renter test: nothing that drills into tile or drywall, nothing involving wet grout or thinset, and nothing your landlord would notice on move-out day. Most install with a clean wall, a plastic smoother, and a sharp utility knife. If you have already upgraded the bathroom the same way, these pair naturally with our renter-friendly bathroom upgrades for a whole rental that feels designed instead of temporary.
Quick Answer: What Are Renter Friendly Backsplash Ideas?
Renter friendly backsplash ideas are kitchen wall treatments designed to be fully reversible. Instead of real tile set in mortar, they use self-adhesive vinyl tiles, peel-and-stick wallpaper, or lightweight panels that attach with removable adhesive. A genuinely renter-safe backsplash meets all four of these rules:
Removable adhesive only. Peel-and-stick products must actually peel off cleanly, and any mounting strips should be the removable kind.
No drilling. No screws or anchors into tile, grout, or drywall. Tension, adhesive, and freestanding solutions only.
No wet materials. No grout, thinset, mortar, or construction adhesive. If it needs 24 hours to cure into the wall, it is not renter-friendly.
One-afternoon reversal. The deposit test is simple: could you return this wall to exactly how you found it in a single afternoon? If yes, it qualifies.
How Much Do Renter Friendly Backsplash Ideas Cost?
Most renter friendly backsplash ideas cost between $15 and $80 for a standard cooktop-to-cabinet area, which is a fraction of a professionally tiled backsplash. Budget options like contact paper and chalkboard paper typically run under $25 for the whole project. Mid-range peel-and-stick tiles and printed wallpapers land between $30 and $60, while premium-look panels such as faux tin or thick vinyl planks can reach $60 to $120 for larger walls. Because every idea below is removable, the real cost is low risk: if you hate it, you peel it off and try another.
1. Peel-and-Stick Subway Tile
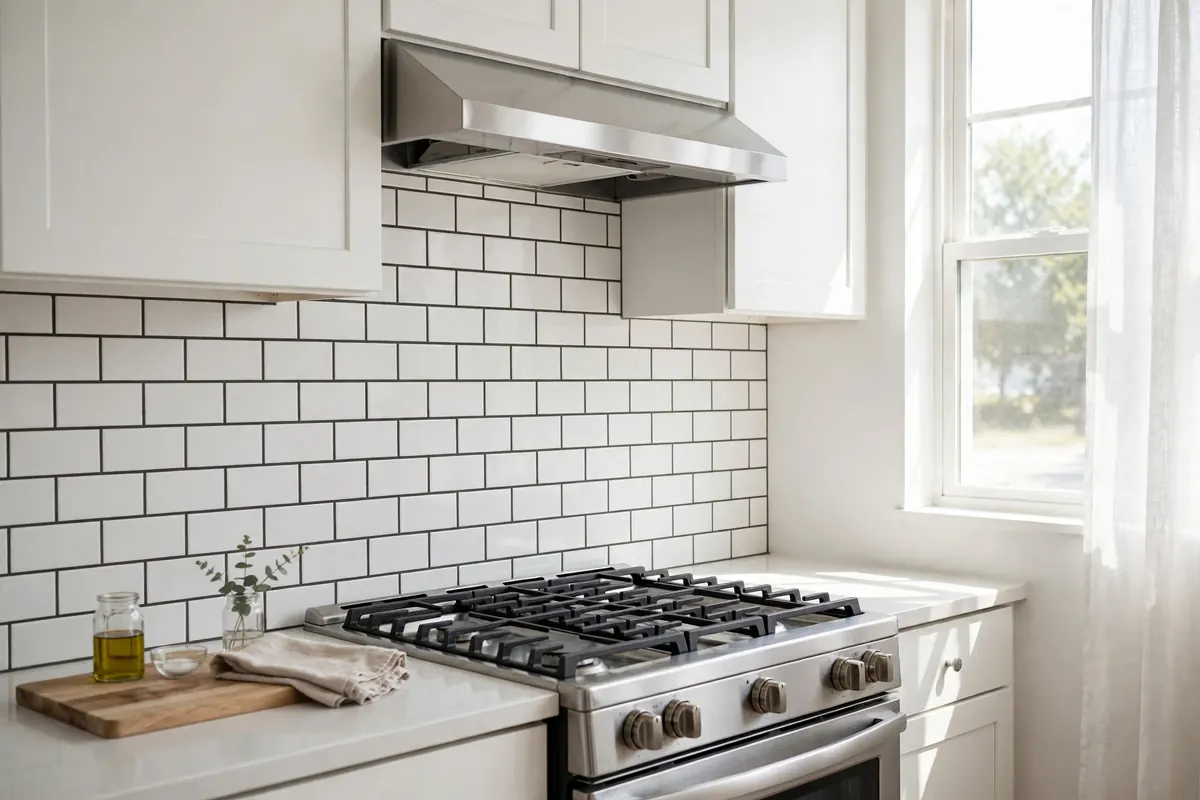
What it is: Self-adhesive vinyl or gel tiles printed to look like classic white subway tile, complete with faux grout lines, that press directly onto clean drywall or existing tile.
Why it looks expensive: Subway tile is the most timeless backsplash in design history, and the best peel-and-stick versions mimic the slight bevel and sheen of real ceramic. From two feet away, even designers have to look twice.
How to install it without damage: Degrease the wall with rubbing alcohol and let it dry fully. Draw a level guideline for your first row, then press tiles on from the center outward, smoothing out air bubbles as you go. Trim around outlets with a sharp utility knife.
Approximate cost: $25 to $50 for a standard stove-width area.
Deposit-safety note: Warm each tile with a hairdryer for 20 to 30 seconds before peeling slowly at a low angle. Test one tile in a hidden spot for 48 hours before committing to the full wall.
2. Beadboard Peel-and-Stick Panels
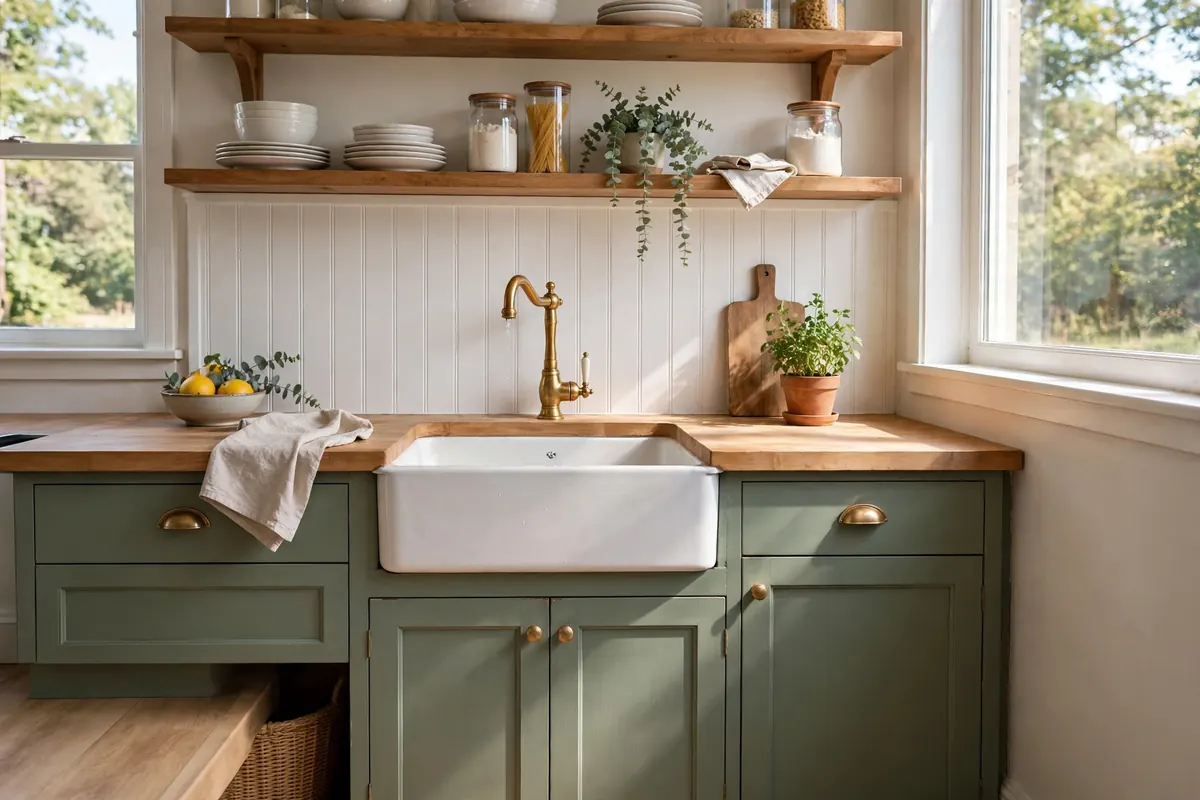
What it is: Lightweight panels embossed with the vertical grooves of classic beadboard, backed with removable adhesive for a nail-free cottage look.
Why it looks expensive: Beadboard reads as custom millwork, and millwork always signals a kitchen that was designed rather than defaulted. The grooves catch light and add texture that flat paint never could.
How to install it without damage: Panels usually come in large sheets you cut to size. Butt the seams tightly and caulk the bottom edge where it meets the counter with removable caulk tape to block water. They trim easily around outlets.
Approximate cost: $30 to $60 depending on wall size.
Deposit-safety note: Beadboard panels are among the easiest removals because they lift off in large, clean sheets. Keep a spare panel in case one gets damaged by splashes.
3. Faux Tin Tile Decals
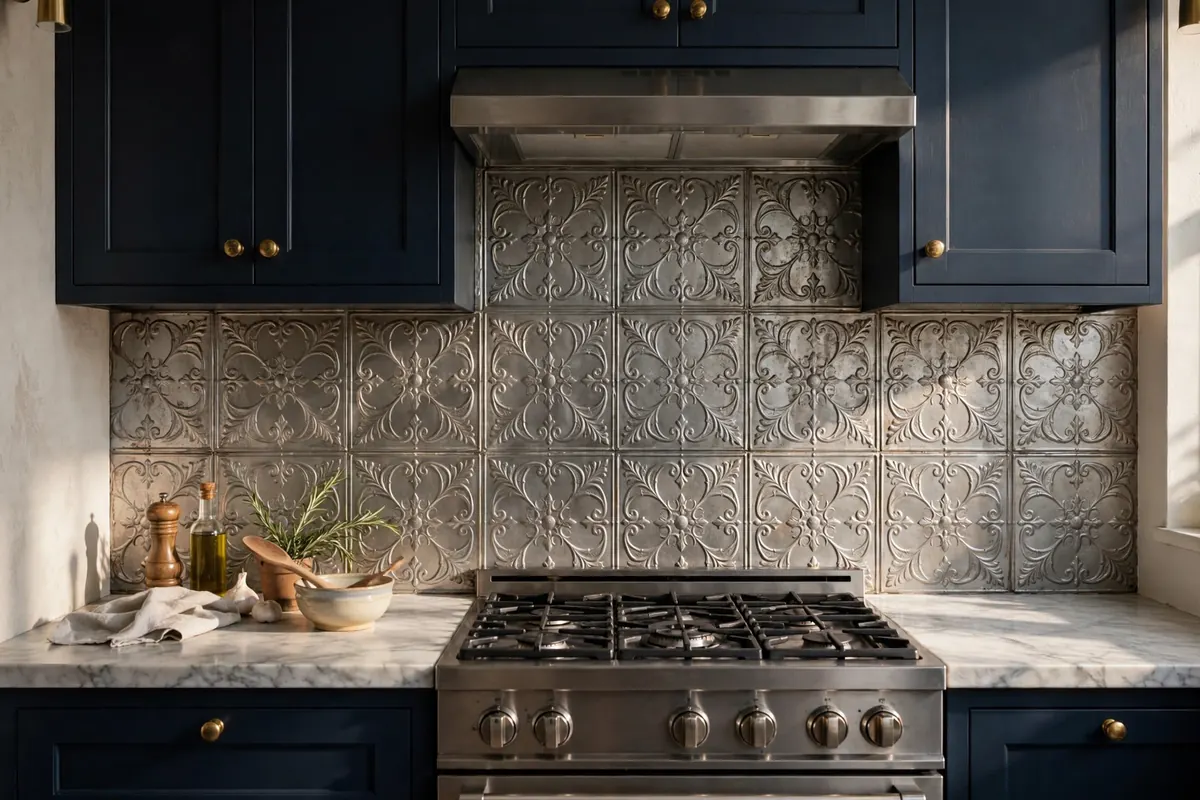
What it is: Thin vinyl decals printed with ornate pressed-tin patterns and a metallic finish, applied tile by tile or in sheets.
Why it looks expensive: Real pressed-tin tiles cost a small fortune and need professional installation. The metallic sheen and deep-looking embossed patterns of good decals capture that vintage luxury convincingly.
How to install it without damage: These work best on smooth, flat walls. Align your first tile carefully since the repeating pattern makes crooked rows obvious, then work outward in a grid. Individual decals mean you can replace one damaged piece without redoing the wall.
Approximate cost: $20 to $45.
Deposit-safety note: Because each piece is small and light, removal is fast. Avoid placing them where direct steam hits constantly, as prolonged moisture can loosen edges over time.
4. Chalkboard Contact Paper
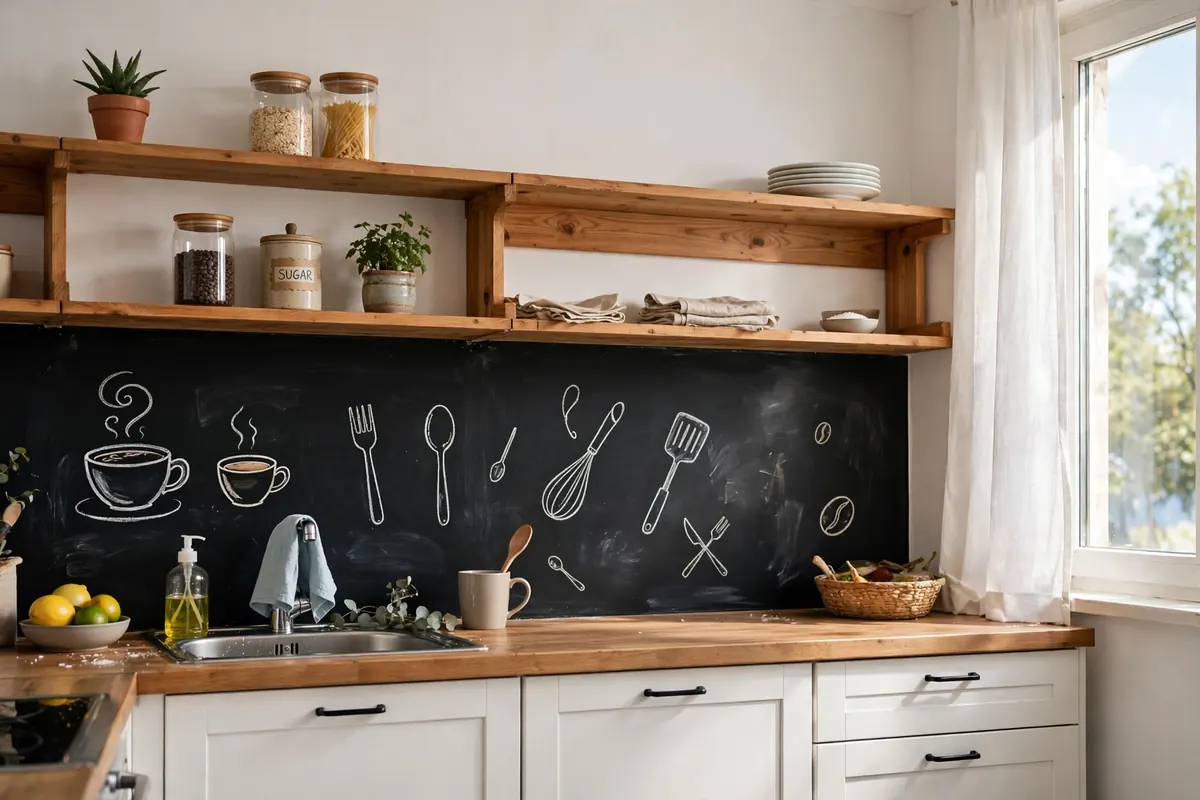
What it is: Matte black adhesive paper that turns your backsplash into a writable chalkboard surface for lists, recipes, and doodles.
Why it looks expensive: A black accent wall is a classic designer move, and a chalkboard backsplash delivers that moody contrast plus genuine function. It makes white cabinets pop dramatically.
How to install it without damage: Apply in one continuous run for the cleanest look, smoothing from the center outward to avoid bubbles. Season the surface first by rubbing chalk over the whole area and wiping it off, which prevents ghosting. Write with real chalk or chalk markers and wipe clean with a damp cloth.
Approximate cost: $12 to $25, the cheapest idea on this list.
Deposit-safety note: Standard removable contact paper peels off painted drywall cleanly. Keep it away from direct stovetop splatter or add a clear removable splatter guard behind the burners.
5. Faux Brick Peel-and-Stick Wallpaper
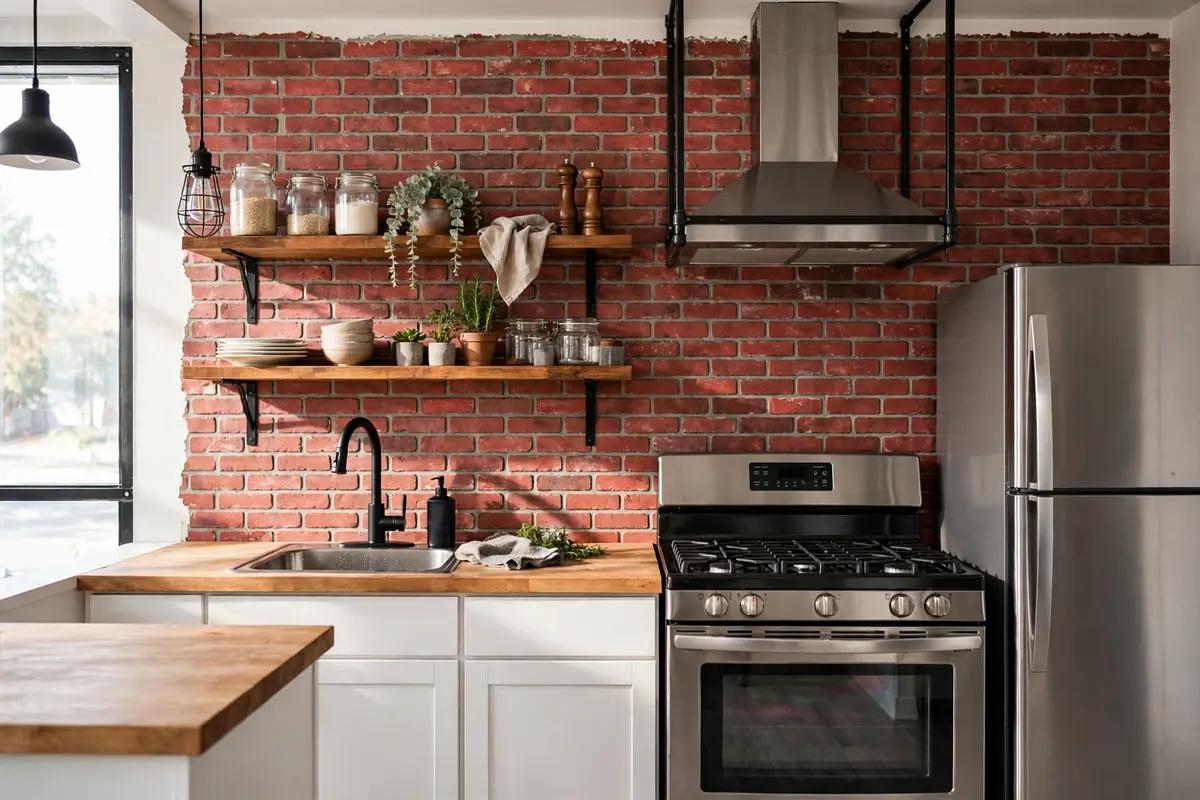
What it is: High-resolution printed vinyl wallpaper that reproduces the color variation and texture of exposed brick on a lightweight, removable sheet.
Why it looks expensive: Exposed brick screams converted loft, and real brick veneer is heavy, dusty, and permanent. Good prints include mortar shading and tonal variation that sell the illusion from normal viewing distance.
How to install it without damage: Hang it like wallpaper: start at one end, smooth downward with a plastic smoother, and match the brick courses panel to panel. The print hides small seams well, which makes this forgiving for beginners.
Approximate cost: $25 to $55 per roll, and one roll usually covers a standard backsplash run.
Deposit-safety note: Use only wallpaper explicitly labeled removable or peel-and-stick. Traditional prepasted wallpaper is not renter-safe and will fight you at move-out.
6. Shiplap Peel-and-Stick Planks
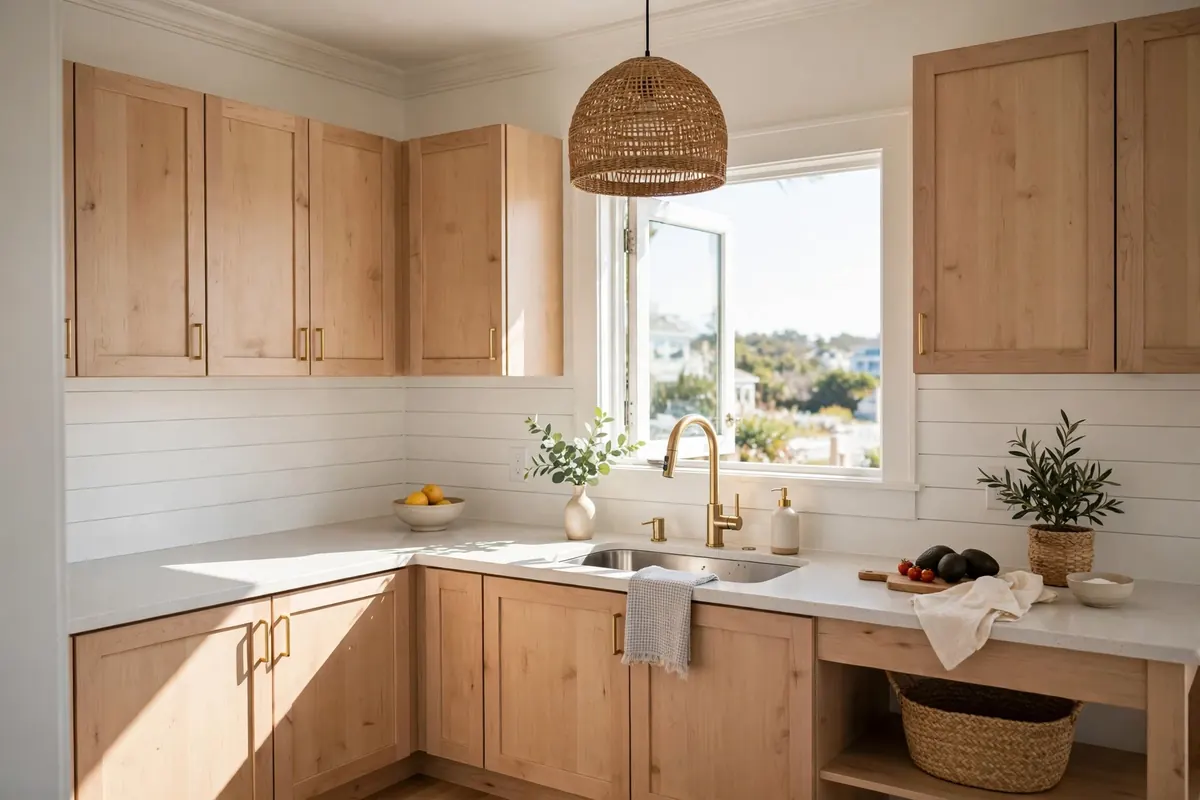
What it is: Foam or vinyl planks with a printed wood grain and a shadow gap between boards, reproducing the shiplap look without a single nail.
Why it looks expensive: Shiplap brings relaxed coastal or modern farmhouse character that makes a plain rental kitchen feel like a beach cottage. The horizontal lines draw the eye and make small kitchens feel wider.
How to install it without damage: Install rows from the bottom up, keeping each plank level. The planks cut easily with a utility knife, and the shadow gaps forgive slightly imperfect cuts. Seal the countertop joint with removable caulk tape.
Approximate cost: $30 to $65.
Deposit-safety note: Shiplap planks are some of the easiest panels to remove because they lift off in long, clean strips. Avoid the area directly behind a gas cooktop unless the product is heat-rated.
7. Geometric Pattern Tile Decals
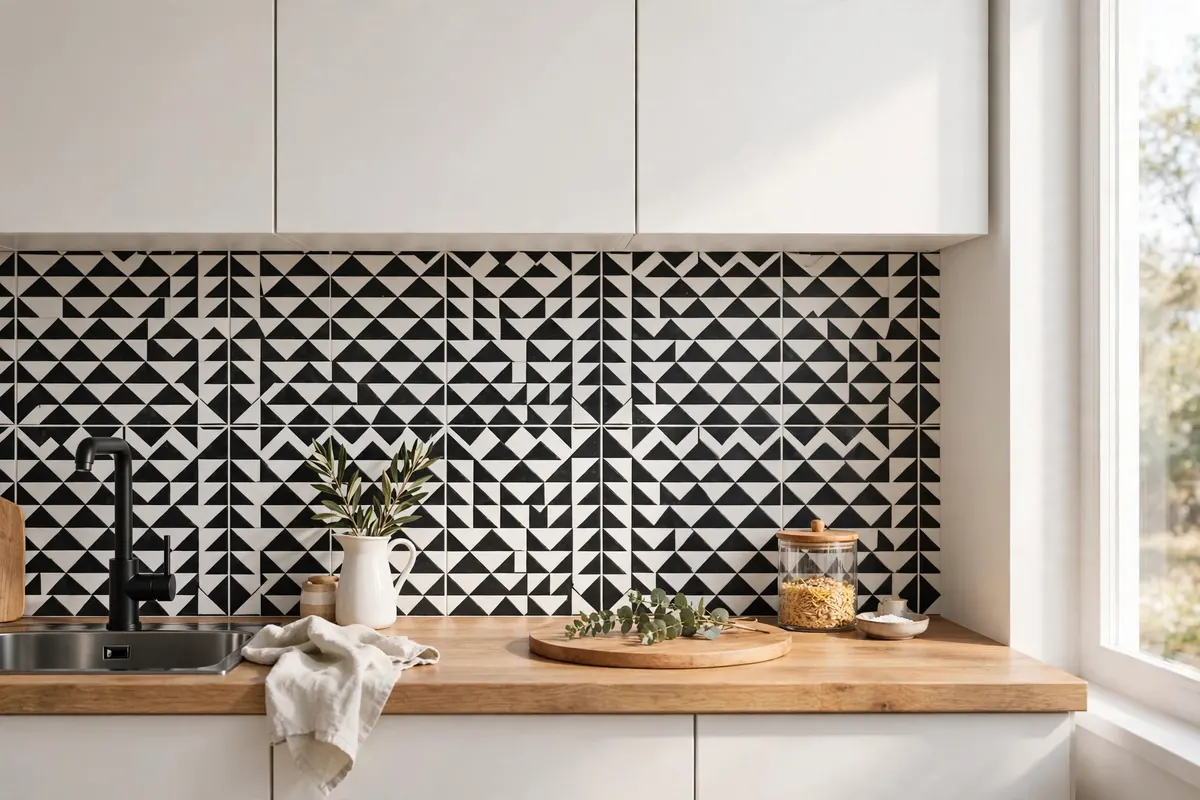
What it is: Individual adhesive decals in bold graphic patterns, sized to overlay standard square tiles or to tile a plain wall in a grid.
Why it looks expensive: Bold geometric patterns mimic handmade encaustic cement tile, which is one of the priciest backsplash materials going. A black-and-white pattern turns a boring rental backsplash into the focal point of the room.
How to install it without damage: If you are covering existing tile, degrease thoroughly first since these adhere best to smooth, glossy surfaces. Dry-fit your pattern on the counter to plan repeats, then stick from the center outward. A level first row is everything.
Approximate cost: $20 to $40.
Deposit-safety note: Decals remove cleanest from glossy existing tile, which is ideal because the adhesive never touches your landlord’s paint. Replace single decals if one gets scorched or stained.
8. Marble-Look Contact Paper
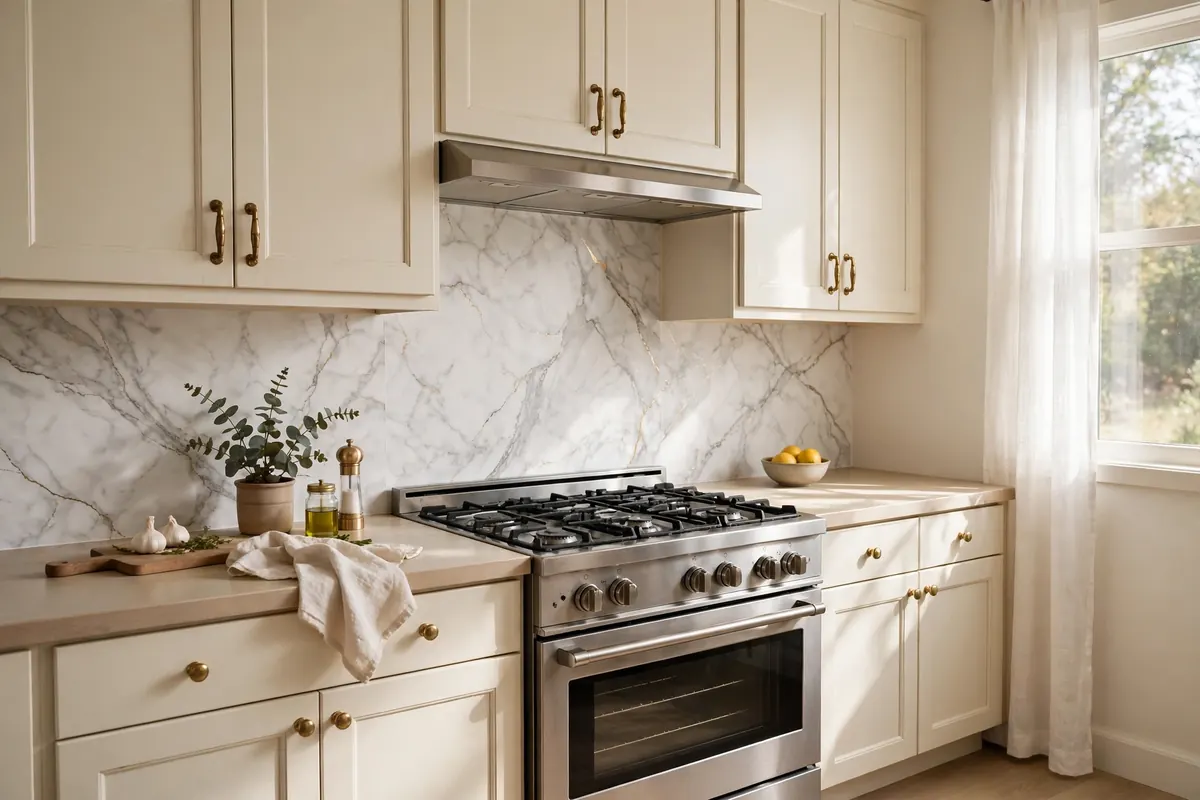
What it is: Glossy adhesive vinyl printed with realistic marble veining, from classic gray-on-white Carrara looks to dramatic gold-veined statement patterns.
Why it looks expensive: A full marble slab backsplash costs thousands and needs a stone fabricator. The gloss finish and large-scale veining of good contact paper deliver that polished stone glow for the price of a pizza.
How to install it without damage: Apply it in one continuous run behind the stove for the most convincing slab effect, since seams break the illusion. Use a felt-edged smoother to avoid scratching the gloss, and wrap edges neatly around corners.
Approximate cost: $15 to $30.
Deposit-safety note: The glossy surface wipes clean with a damp cloth, so it handles real cooking zones well. Peel slowly with gentle heat at move-out, and it leaves painted drywall untouched.
9. Pressed Bamboo Wall Panels
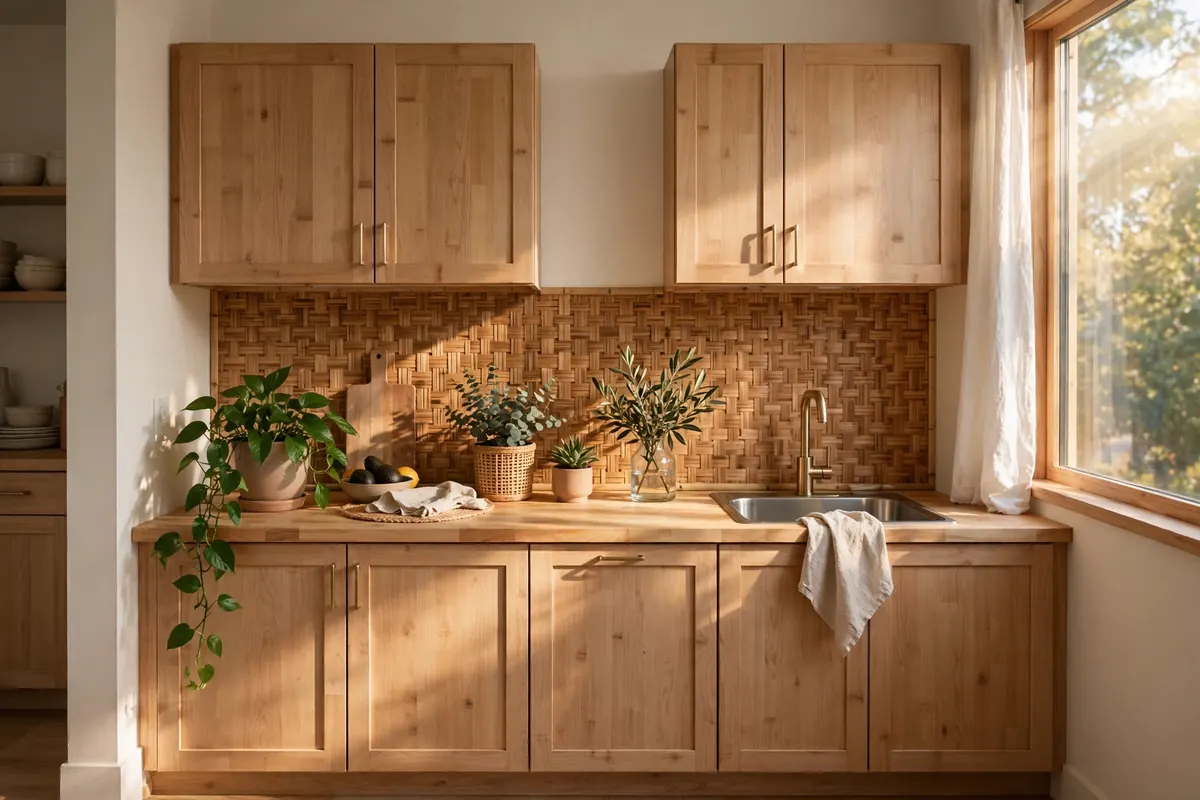
What it is: Lightweight three-dimensional panels made from pressed bamboo fiber, mounted with removable adhesive strips for a sculptural natural look.
Why it looks expensive: Natural texture reads as a deliberate designer choice, and the woven bamboo pattern catches light in a way flat materials cannot. Paired with light wood cabinets and greenery, it gives the kitchen a calm, organic luxury feel.
How to install it without damage: Skip any included permanent glue and mount the panels with heavy-duty removable adhesive strips rated for the panel weight. Plan your layout on the floor first since the 3D pattern has a direction. Wipe with a dry cloth rather than soaking them.
Approximate cost: $40 to $80.
Deposit-safety note: Because you are using removable strips instead of glue, the panels lift off with zero wall damage. This is the best pick on the list for renters who are nervous about adhesives touching the wall at all.
10. Faux Stone Peel-and-Stick Wallpaper
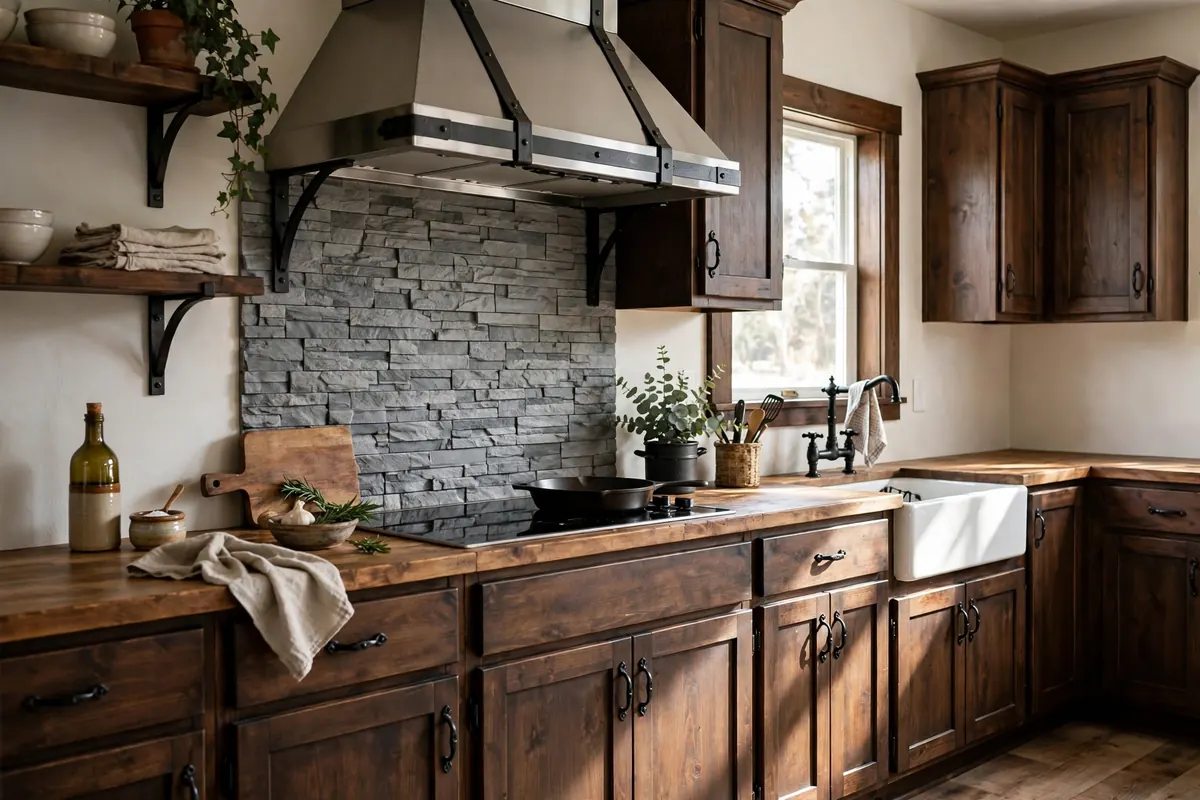
What it is: Printed vinyl wallpaper reproducing stacked stone or ledgestone, with shadowed joints that fake real depth and texture.
Why it looks expensive: Real stacked stone needs mortar and a mason, and it brings a rustic weight that makes a kitchen feel grounded and permanent. Good prints reproduce the shadow lines between stones convincingly.
How to install it without damage: Match the stone courses horizontally as you hang each panel so the pattern flows. Keep the rest of the kitchen simple so the stone stays the star. Seal edges near the sink with clear removable caulk tape for splash protection.
Approximate cost: $25 to $55 per roll.
Deposit-safety note: Large-format prints mean fewer seams and faster removal. Peel panels off in full sheets at move-out rather than tearing them into pieces.
11. Herringbone Peel-and-Stick Vinyl Planks
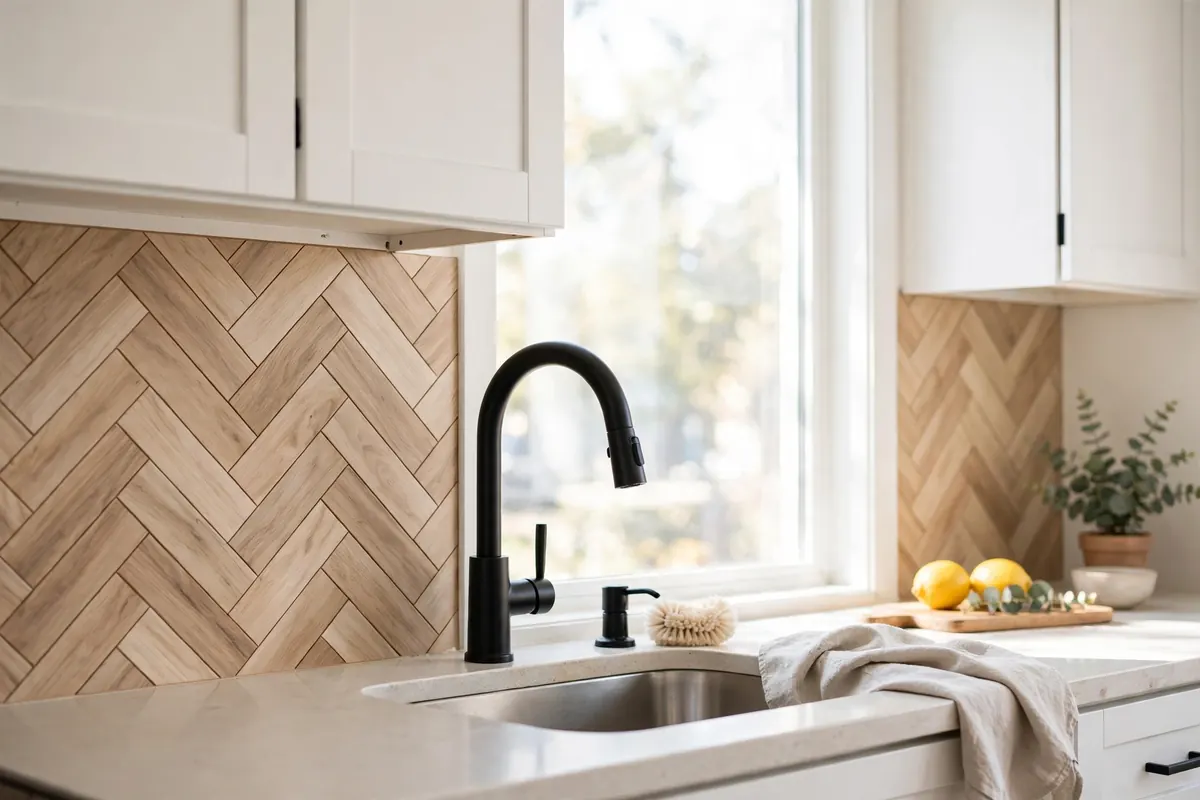
What it is: Peel-and-stick vinyl planks in wood looks, cut and laid in a herringbone pattern for a high-end geometric effect.
Why it looks expensive: Herringbone is a pattern designers reach for when they want instant sophistication. Light oak planks warm up white cabinets without adding visual clutter, and the zigzag catches light beautifully.
How to install it without damage: This is the fussiest install on the list, so dry-fit your full pattern on the counter first. Cut planks at 45 degrees with a sharp utility knife and a metal straightedge, work from a center line outward, and keep a damp cloth handy since vinyl adhesive grabs fast.
Approximate cost: $35 to $70.
Deposit-safety note: Buy 15 percent more planks than you measure for, because herringbone cuts waste material. The individual planks peel off easily with gentle heat.
12. Moroccan-Style Tile Stickers
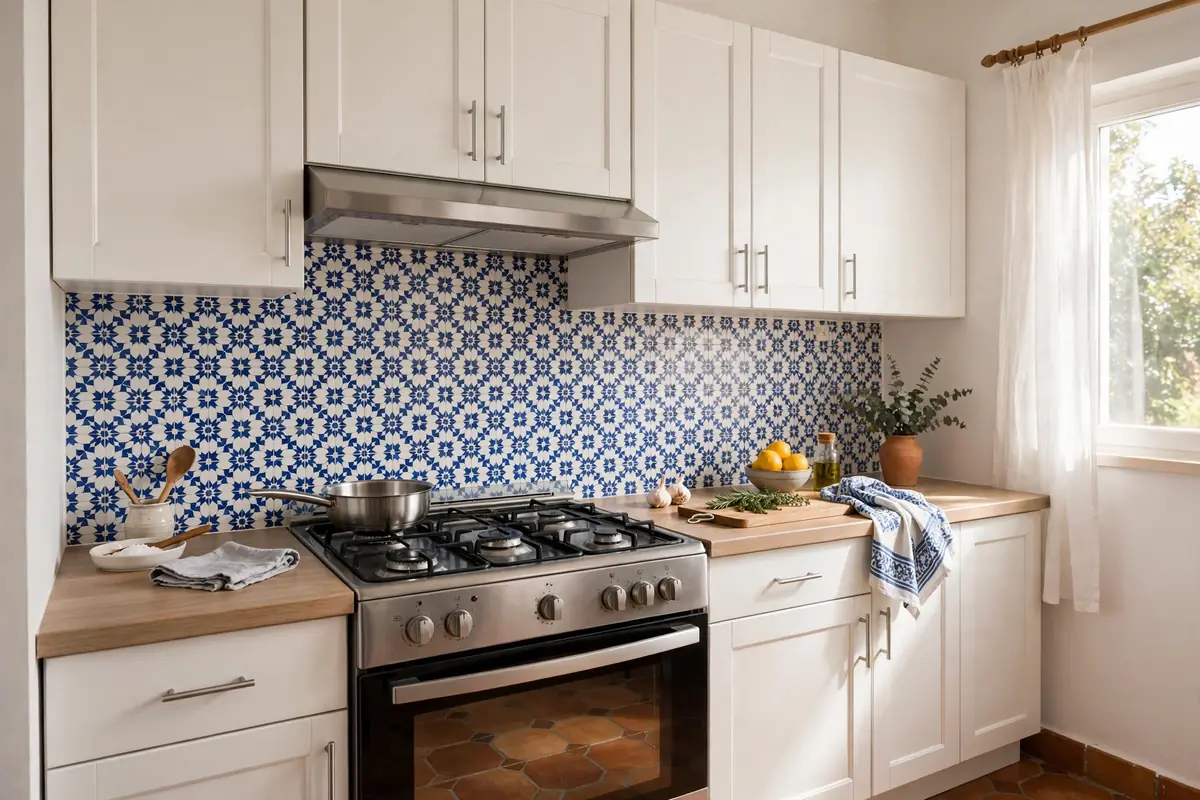
What it is: Glossy adhesive stickers printed with intricate Moroccan and Mediterranean motifs, in colorways from classic blue-and-white to full rainbow.
Why it looks expensive: Handmade Moroccan tile is artisan-priced, and these stickers copy its intricate geometry convincingly. A little pattern goes a long way: used as a feature strip behind the range, it looks like a deliberate designer moment.
How to install it without damage: Consider a feature-strip layout rather than a full wall, which uses fewer stickers and makes a stronger statement. The glossy finish wipes clean easily, which matters in a real cooking zone. Align patterns carefully at the center and work outward.
Approximate cost: $18 to $40.
Deposit-safety note: Stickers remove cleanly from smooth tile and semi-gloss paint. Keep spares from the same print batch since dye lots vary between orders.
13. Faux Terracotta Tile Decals
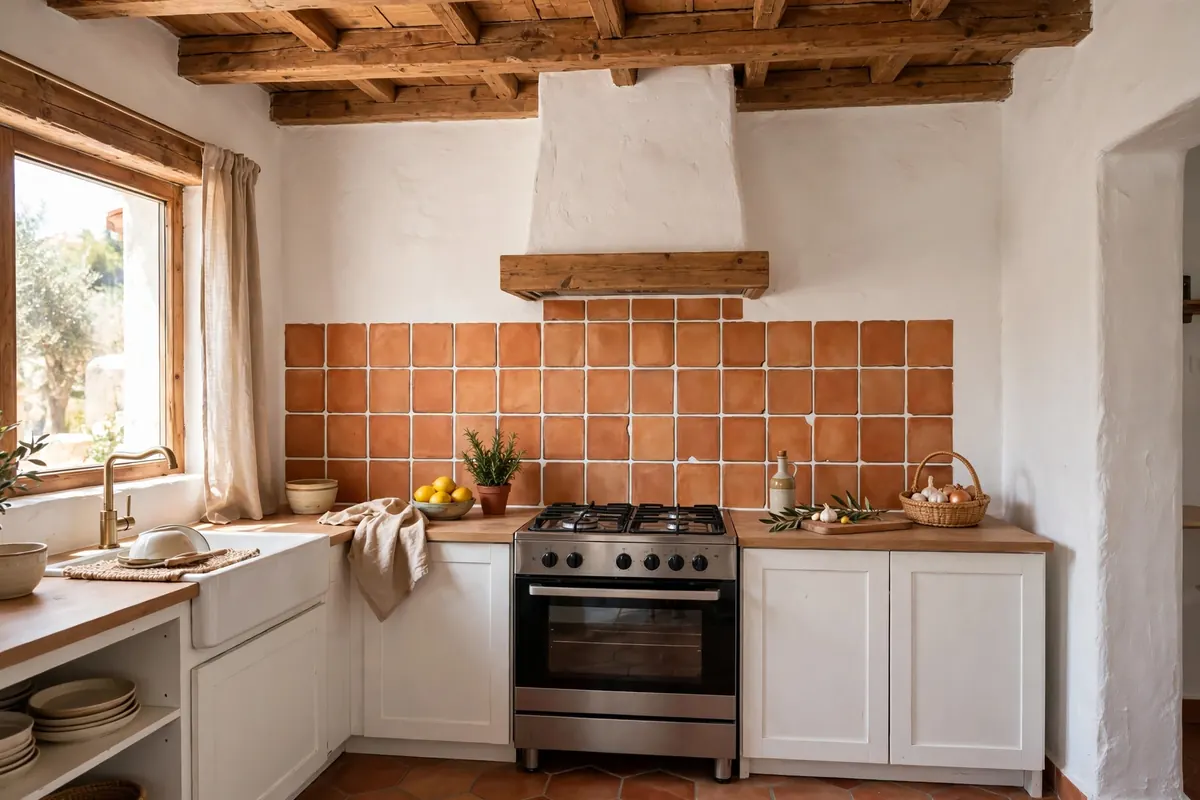
What it is: Adhesive decals printed to mimic handmade terracotta tiles, with warm orange tones and subtle shade variation between pieces.
Why it looks expensive: Terracotta brings sun-baked Mediterranean warmth that makes white rental kitchens feel instantly inviting and collected. The handmade-look edges and tonal variation read as artisan rather than mass-produced.
How to install it without damage: Mix decals from different parts of the pack as you stick them so the shade variation looks natural rather than banded. Pair with white plaster-look walls and wood tones for the full Mediterranean effect.
Approximate cost: $20 to $45.
Deposit-safety note: Terracotta prints show grease less than white tiles do, which is a practical bonus. Remove with gentle heat and they leave no trace.
14. Reclaimed Wood-Look Wallpaper
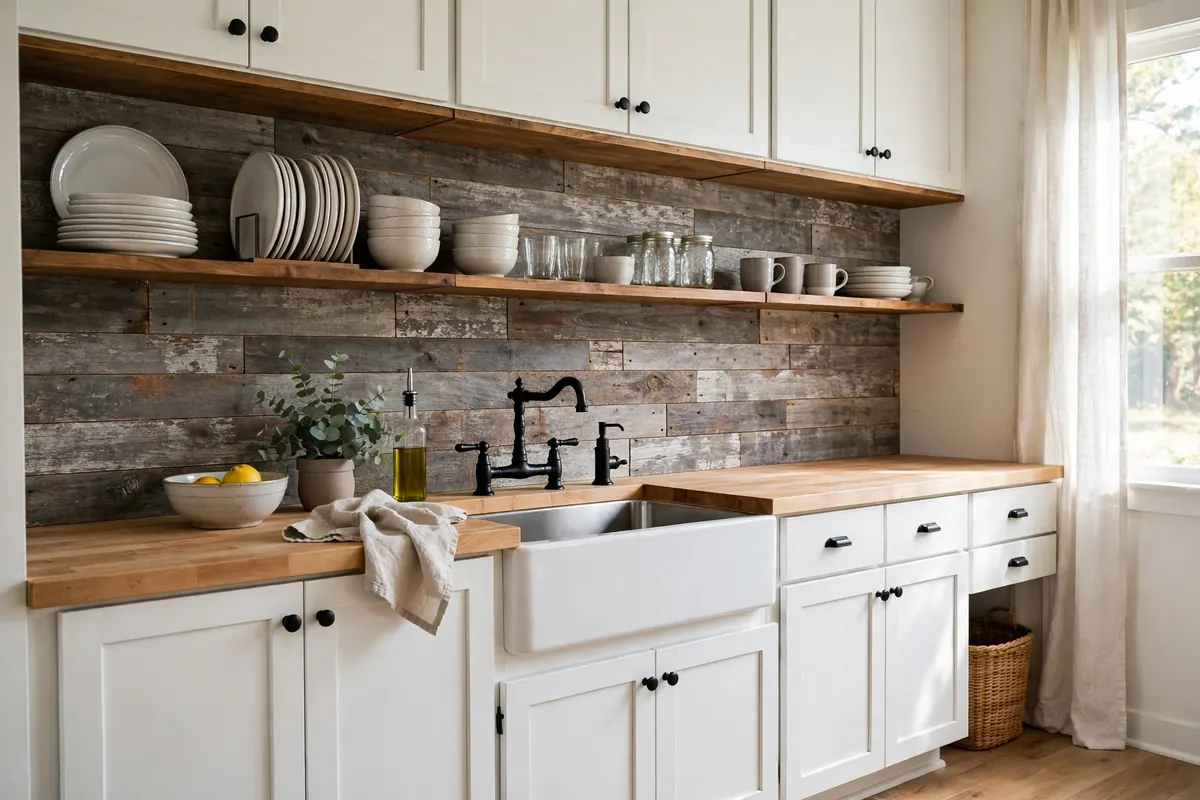
What it is: Peel-and-stick wallpaper printed with weathered, reclaimed wood boards, capturing knots, grain, and gray-brown patina on a featherweight sheet.
Why it looks expensive: Real salvaged wood is heavy, pricey, and needs serious mounting hardware. The printed version delivers the same farmhouse soul and layered texture that brand-new rentals completely lack.
How to install it without damage: Hang panels so the board seams stagger like real planks rather than lining up in a grid. It looks best behind open shelving where the wood and your dishes layer together into a styled vignette.
Approximate cost: $25 to $50 per roll.
Deposit-safety note: The busy wood print hides minor wall imperfections, which is handy in older rentals. Full-sheet removal at move-out takes minutes.
15. Zellige-Look Peel-and-Stick Tiles
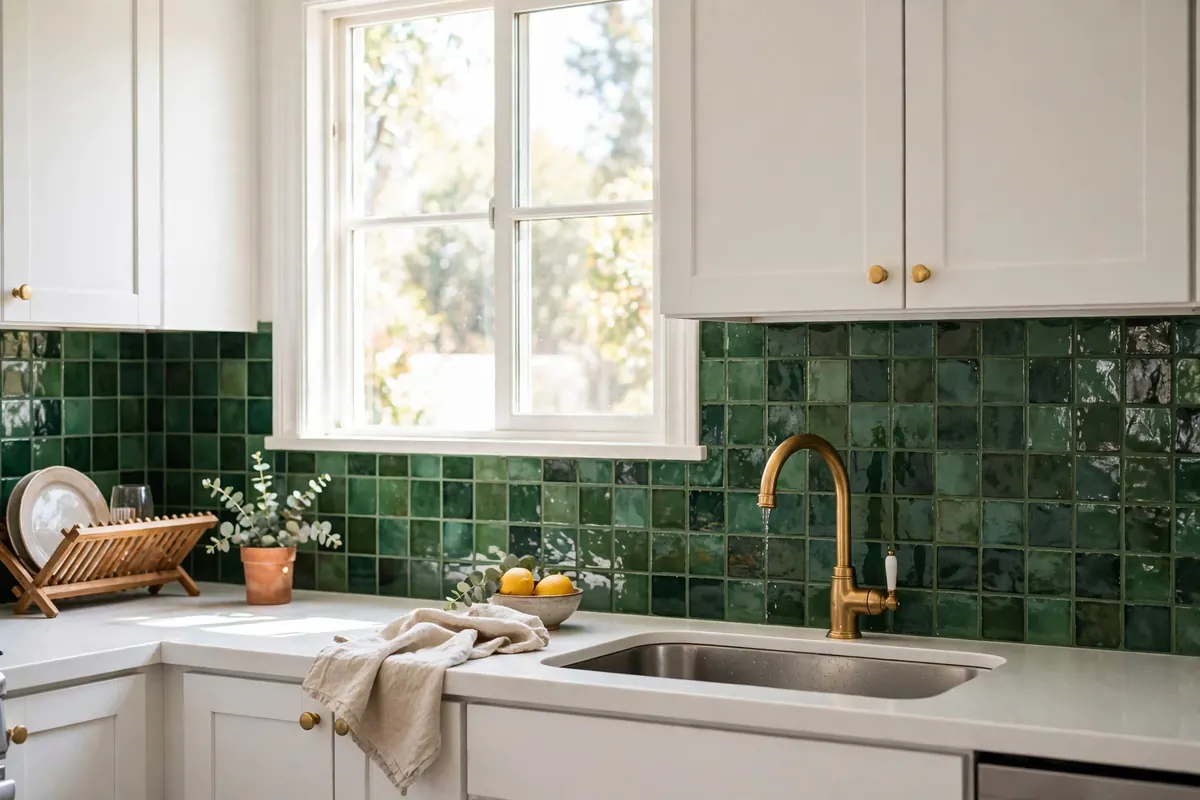
What it is: Glossy peel-and-stick tiles printed with the rippled glaze and shade variation of handmade Moroccan zellige tile.
Why it looks expensive: Real zellige is one of the most pinned kitchen trends right now and one of the priciest to install. The high-shine finish and printed color variation bounce light around small kitchens, and deep green or warm white are the most forgiving colors for beginners.
How to install it without damage: Embrace the variation: rotate tiles as you stick them so no two identical shades sit together, which is exactly how real zellige is installed. Use a soft smoother to protect the glossy surface from scratches.
Approximate cost: $30 to $60.
Deposit-safety note: The glossy tiles wipe clean with a damp cloth and resist kitchen grime well. Peel with gentle heat at move-out for a clean release.
Before you start, remember that the best renter friendly backsplash ideas share one trait: they all come off cleanly. Keep these renter friendly backsplash ideas looking great with the pro tips below.
Pro Tips for Renter Friendly Backsplash Ideas That Last
Getting a renter-friendly backsplash to look expensive comes down to installation discipline more than product choice. These are the rules that separate a backsplash that fools everyone from one that peels by February.
Degrease like you mean it. Kitchen walls collect an invisible film of cooking grease that kills adhesion. Wipe the whole area with a degreasing cleaner, then again with rubbing alcohol, and let it dry completely. This single step prevents most peeling failures.
Draw a level guideline first. As Apartment Therapy’s peel-and-stick tile tips emphasize, a straight, level first row is the foundation of a professional-looking result. Even if your wall is not perfectly straight, your tile lines should be.
Start behind the stove. Begin in the most visible spot and work outward toward the corners, so any cut pieces land where eyes rarely go. Dry-fit tricky cuts before peeling any backing.
Seal the wet zones. Run a thin line of removable caulk tape along the countertop joint and around the sink to keep water from creeping behind panels. For technique reference on clean edges and outlet cuts, This Old House’s backsplash installation guide covers the fundamentals that apply to stick-on products too.
What to avoid: never install over fresh paint that has cured for less than 30 days, never use permanent construction adhesive as a shortcut, and never place vinyl products where open flame can touch them. Skip textured or crumbling walls entirely: no adhesive sticks well to a bad surface, and a failed install risks the very wall damage you are trying to avoid.
These renter friendly backsplash ideas prove you do not need a renovation budget or landlord approval to get a kitchen you love. Pick one of these renter friendly backsplash ideas this weekend and see how much a single afternoon can change your rental kitchen.
The Bottom Line
A backsplash is one of the highest-impact, lowest-commitment upgrades a renter can make: one afternoon, one wall, and your kitchen stops looking like a rental. Start with a test patch in a hidden spot, keep the wall clean and dry during install, and save every original fixture you temporarily cover. When move-out day comes, a hairdryer and a slow peel hand the kitchen back exactly as you found it, deposit intact. And once the kitchen feels finished, carry the same reversible approach into the rest of the apartment with our renter-friendly bedroom ideas.
Renter Friendly Backsplash Ideas: FAQs
Will a peel-and-stick backsplash damage my walls?
Quality peel-and-stick products are engineered to remove cleanly from painted drywall and existing tile. Always test one piece in a hidden spot for 48 hours first, avoid applying over fresh paint that has cured for less than 30 days, and remove with gentle heat from a hairdryer while peeling slowly at a low angle.
Can I put a peel-and-stick backsplash behind a gas stove?
Keep vinyl and wallpaper products a few inches from open flames and check the manufacturer’s heat rating before installing near any cooktop. Most are fine in the standard backsplash zone behind the stove, but never place them where direct flame contact is possible.
How long does a renter-friendly backsplash last?
With a clean, dry install, expect two to five years of good looks. Wipe splashes promptly, avoid abrasive scrubbers on printed surfaces, and keep spare pieces from the original batch so you can swap out any damaged tile instead of redoing the wall.
What is the cheapest renter-friendly backsplash idea?
Contact paper, including chalkboard and marble-look options, is the budget champion: a full backsplash area typically costs under twenty dollars. Tile decals and printed wallpapers run a bit more but still cost far less than real tile and professional installation.
Can I install a backsplash over existing tile?
Yes, and it is often easier than installing over drywall. Individual tile decals are made for exactly this purpose, and they remove cleanly from glossy tile. Degrease the existing tile with rubbing alcohol first, let it dry completely, and press each piece firmly to avoid trapped air bubbles.