15 Renter-Friendly Bathroom Upgrades That Feel Luxe
Most rental bathrooms look like they were designed by someone who gave up halfway through — flat white walls, a tired builder-grade showerhead, and lighting that makes everyone look vaguely unwell. The good news is that you don’t need your landlord’s renovation budget (or permission for demolition) to fix it. With fully reversible swaps, you can make a dated rental bathroom feel like a boutique hotel in a single weekend, and hand every bit of it back on move-out day.
The upgrades below all pass the same test: no drilling into tile, no permanent adhesive, no plumbing changes, and everything can be removed or reversed in under an hour when your lease ends. If you have already given your sleeping space the same treatment, these pair nicely with our renter-friendly bedroom ideas for a whole apartment that feels intentional.
Quick Answer: What Counts as a Renter-Friendly Bathroom Upgrade?
A renter-friendly bathroom upgrade is any change that improves how the bathroom looks, works, or feels without permanently altering the property. That means:
No drilling into tile, grout, or walls — use tension, adhesive, or freestanding solutions instead.
No permanent adhesives — peel-and-stick products must actually peel off cleanly, and hooks should use removable strips.
Reversible swaps — showerheads, hardware, and curtains can be changed as long as you keep every original part to reinstall later.
No plumbing or electrical work — battery-powered and plug-in lighting only; no hardwiring.
When in doubt, the deposit test is simple: could you return this bathroom to exactly how you found it in one afternoon? If yes, it is renter-friendly.
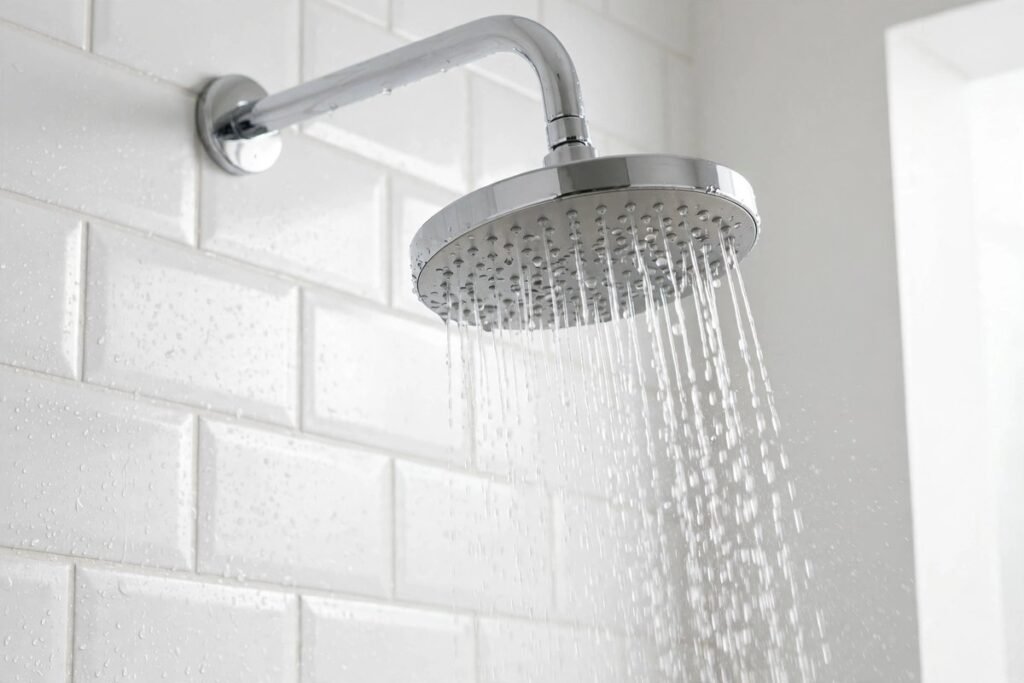
1. Rainfall Showerhead Swap
What it is: Replacing the standard-issue showerhead with a wide rainfall-style head that screws onto the existing shower arm.
Why it feels luxe: A rainfall head turns a cramped rental shower into a spa experience. The wide, even spray pattern feels dramatically more expensive than the pinched stream of a basic head, and it instantly becomes the visual centerpiece of the shower.
How to do it without damage: Unscrew the old head by hand or with an adjustable wrench (wrap the fitting in a cloth first to avoid scratches), wrap the shower arm threads with plumber’s tape, and screw the new head on. No tools beyond a wrench, no plumbing changes.
Approximate cost: $25–$60.
Deposit-safety note: Keep the original showerhead in a labeled bag under the sink and reinstall it before move-out. Take a photo of the original setup first so you remember the exact position.
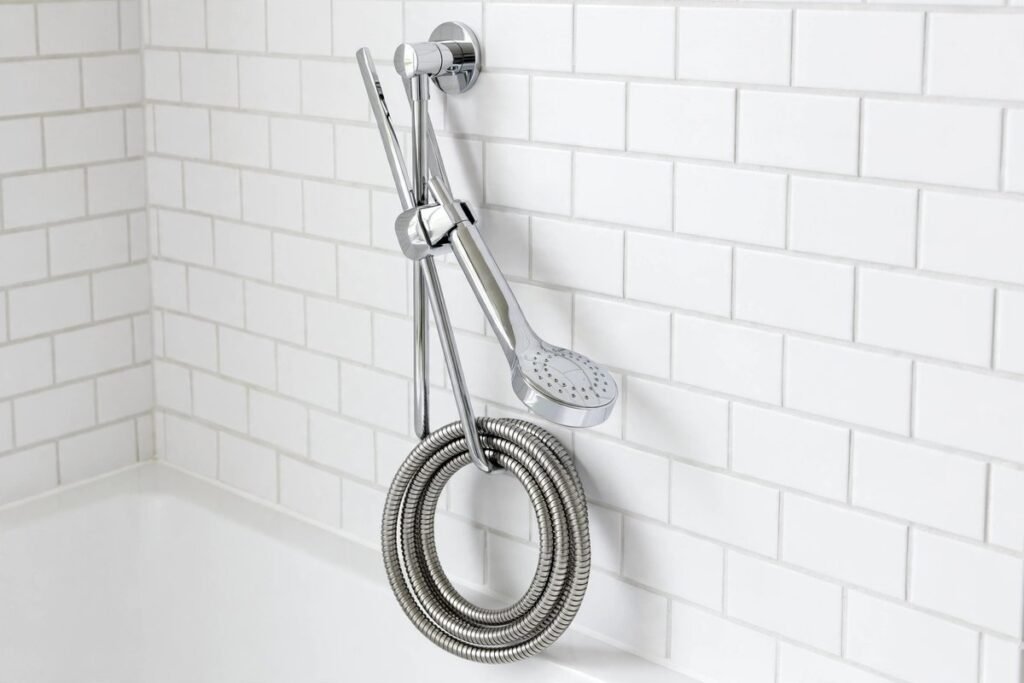
2. Handheld Showerhead with Slide Bar
What it is: A handheld shower wand mounted on an adjustable slide bar that clamps or suctions onto the existing setup.
Why it feels luxe: Adjustable height, targeted spray, and a detachable wand for rinsing — it reads as a premium, custom shower system rather than a fixed rental fixture.
How to do it without damage: Choose a model with a clamp-style slide bar that tightens onto the existing shower arm, or a heavy-duty suction mount rated for bathroom use. Connect the hose to the same threaded arm — it installs exactly like a standard showerhead swap.
Approximate cost: $35–$70.
Deposit-safety note: Avoid slide bars that require wall anchors. Clamp-on and suction models leave zero marks; just keep the original head for reinstallation.
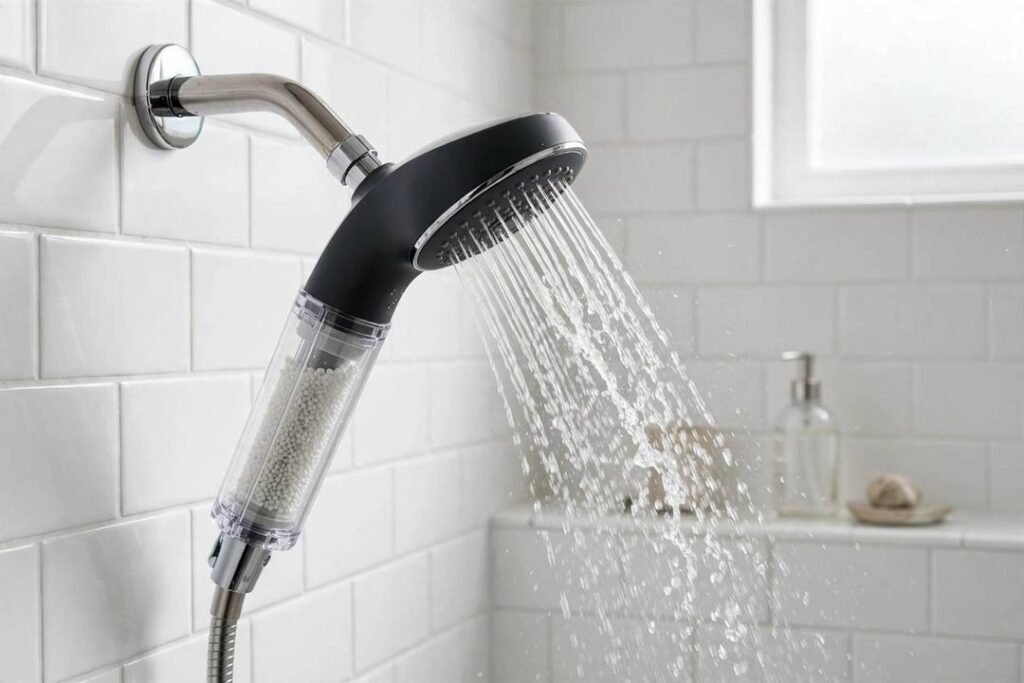
3. Filtered Showerhead for Hard Water
What it is: A showerhead with a built-in replaceable filter cartridge that reduces chlorine, sediment, and hard-water minerals.
Why it feels luxe: Softer water means less soap scum on glass, less limescale crusting on fixtures, and hair and skin that genuinely feel better after every shower — the kind of invisible luxury you notice immediately.
How to do it without damage: Installs the same way as any showerhead swap: unscrew, tape the threads, screw on. Cartridges typically last 2–3 months and twist out for replacement.
Approximate cost: $30–$55, plus $10–$15 per replacement filter.
Deposit-safety note: Fully reversible like any showerhead swap. Bonus: your landlord’s fixtures stay cleaner while you live there, which is a selling point, not a risk.
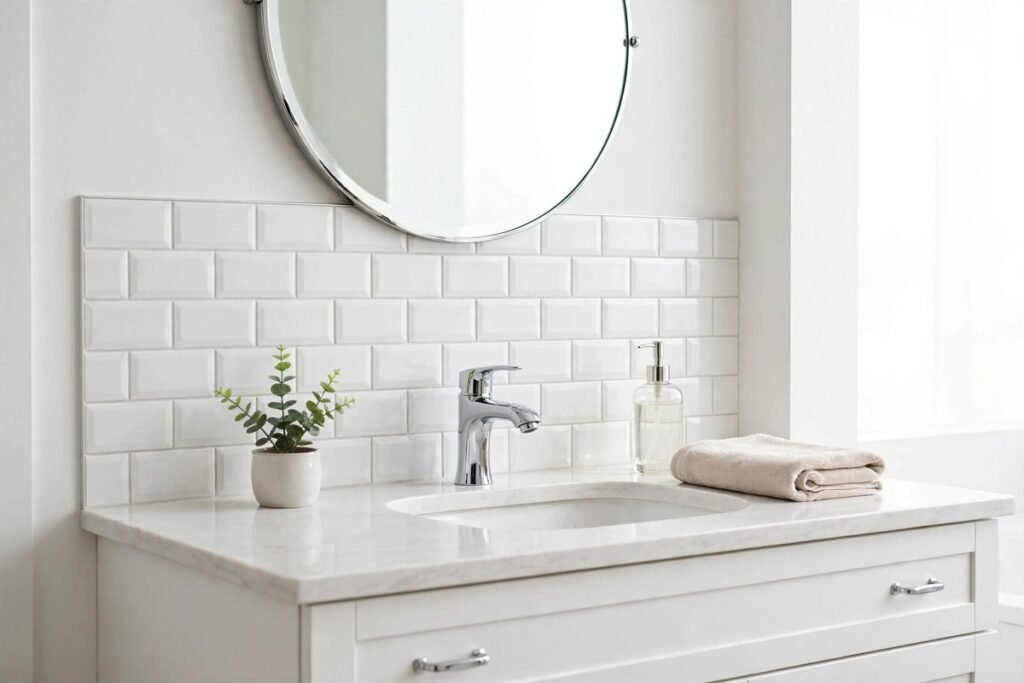
4. Peel-and-Stick Backsplash Tile Behind the Sink
What it is: Self-adhesive faux tile panels — usually vinyl or gel — that mimic subway tile, marble, or Moroccan patterns, applied to the wall behind the bathroom sink.
Why it feels luxe: A backsplash is one of the strongest “designed, not rented” signals in any bathroom. Even a single strip behind the vanity makes the whole sink area look custom and finished.
How to do it without damage: Clean and fully dry the wall first, then press panels on starting from the center and working outward. Most quality brands peel off cleanly from painted drywall. Avoid applying over textured or damp walls.
Approximate cost: $15–$40 for a vanity-width area.
Deposit-safety note: Test one panel in a hidden spot for 48 hours before committing. When removing, warm the adhesive with a hairdryer and peel slowly at a low angle to avoid lifting paint.
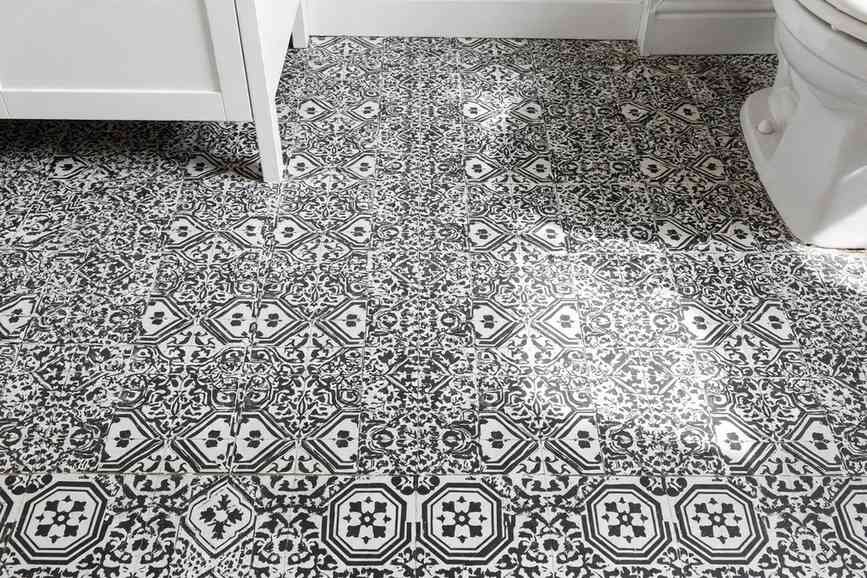
5. Peel-and-Stick Floor Tiles
What it is: Thick vinyl floor tiles with adhesive backing, cut to fit over the existing bathroom floor.
Why it feels luxe: Rental bathroom floors are almost always sad beige vinyl or stained grout. A patterned peel-and-stick floor — checkerboard, terrazzo-look, or encaustic style — completely transforms the room from the ground up.
How to do it without damage: Lay tiles over a clean, dry existing floor, starting from the room’s center. Cut edge pieces with a utility knife and straightedge. The thick adhesive backing keeps them flat without extra glue.
Approximate cost: $30–$80 depending on bathroom size.
Deposit-safety note: Only apply over hard, non-porous flooring (vinyl, tile, laminate) — never over carpet or damaged floors. Peel up slowly at move-out; any residue comes off with warm soapy water or a citrus-based adhesive remover.
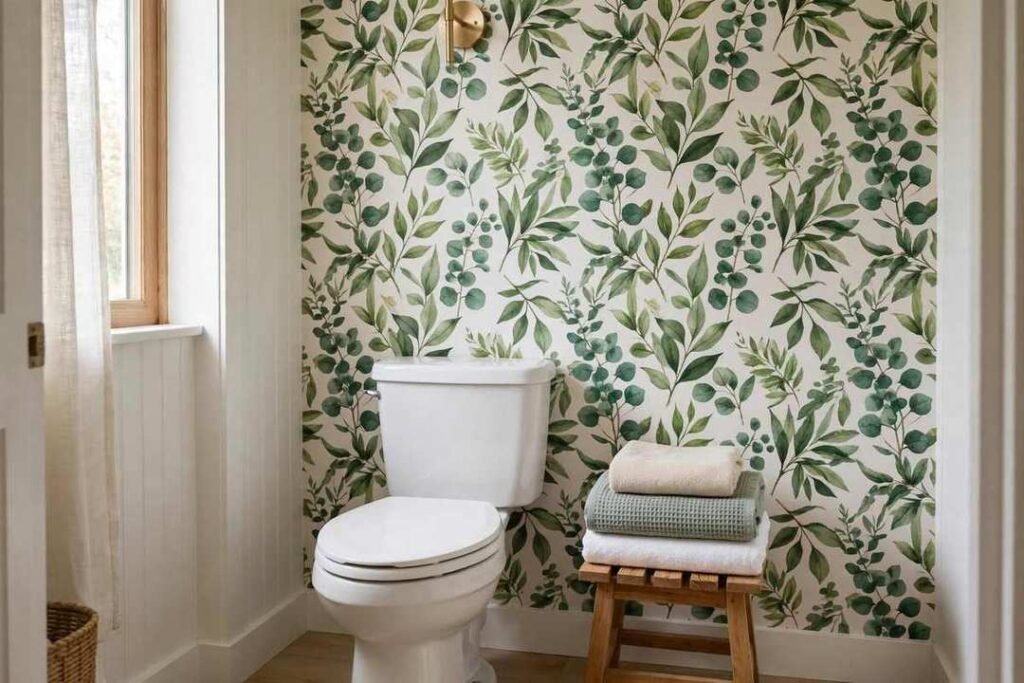
6. Removable Wallpaper Accent Wall
What it is: Peel-and-stick wallpaper applied to one wall — usually behind the vanity or toilet — in a bold pattern or calming texture.
Why it feels luxe: Wallpaper is the fastest way to add personality a rental bathroom never had. A botanical print, subtle stripe, or plaster-look texture makes the space feel designed rather than default.
How to do it without damage: Start at the top of the wall and smooth downward with a plastic smoother, working out air bubbles as you go. Match patterns panel by panel. Most removable wallpapers are engineered to strip off in full sheets.
Approximate cost: $25–$60 per roll; one roll usually covers an accent wall in a small bathroom.
Deposit-safety note: Only use wallpaper explicitly labeled “removable” or “peel and stick” — traditional prepasted wallpaper is not renter-safe. Avoid steamy spots directly inside the shower surround.
7. Over-the-Toilet Etagere Shelf
What it is: A freestanding shelving unit that straddles the toilet tank, adding two or three tiers of storage and display space.
Why it feels luxe: It turns dead air above the toilet into a styled vignette — folded towels, a trailing plant, a candle — the kind of curated shelfie moment you see in hotel bathrooms.
How to do it without damage: It simply stands on the floor around the toilet. No mounting, no screws. Measure your toilet’s width and the wall clearance before buying so it fits snugly without wobbling.
Approximate cost: $30–$70.
Deposit-safety note: Zero wall contact means zero risk. Anchor it against the wall with removable furniture straps only if you have kids or pets and worry about tipping — the straps peel off cleanly.
8. Under-Sink Organizers
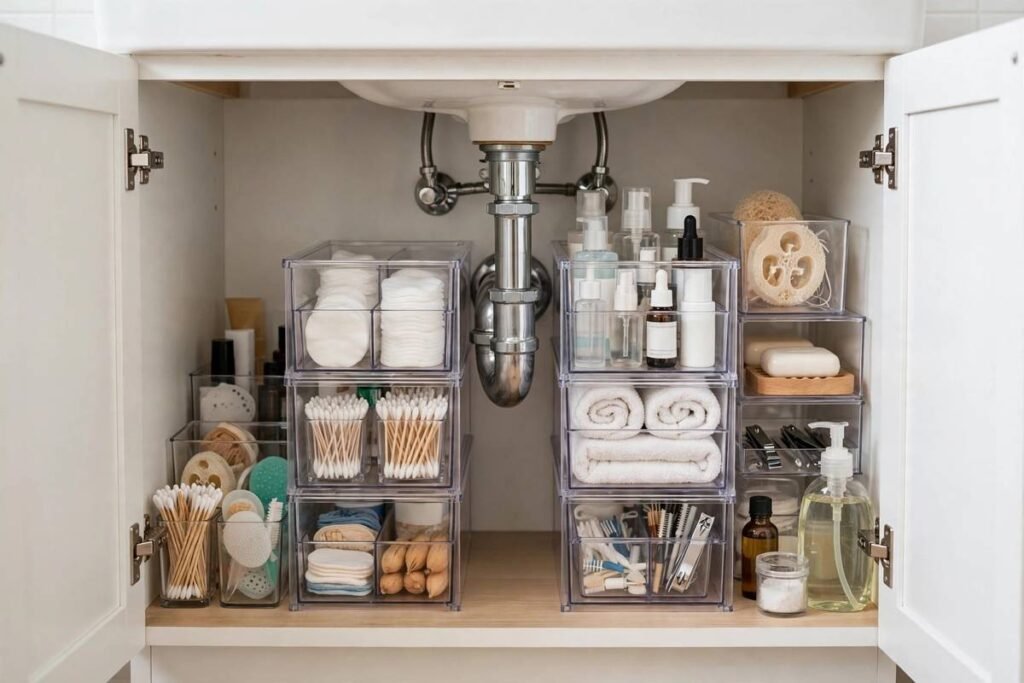
What it is: Stackable bins, pull-out drawers, and tension-rod or adhesive organizers that tame the chaotic cabinet under the bathroom sink.
Why it feels luxe: Luxury is partly about never digging through a dark cabinet for the floss. A zoned under-sink setup — cleaning supplies on one side, daily products in a pull-out caddy — makes the bathroom function like a high-end one.
How to do it without damage: Use freestanding stackable drawers sized to fit around the drain pipe, plus small adhesive hooks or caddies on the cabinet door interior with removable strips.
Approximate cost: $20–$50 for a full set.
Deposit-safety note: Freestanding organizers carry no risk at all. If you stick anything to the cabinet door, use removable adhesive strips and keep the weight light.
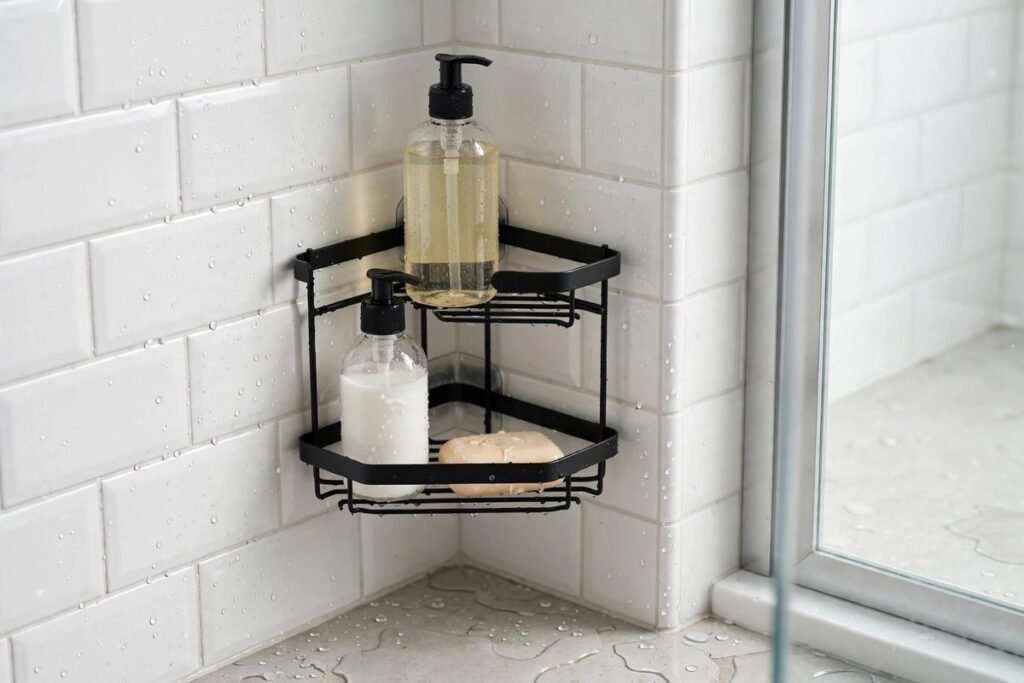
9. No-Drill Adhesive Shower Caddy
What it is: A rust-proof shower caddy that mounts with waterproof adhesive pads or heavy-duty suction cups instead of screws or a tension pole.
Why it feels luxe: Bottles lined up on a sleek corner caddy look instantly tidier than products balanced on the tub edge — and a tidy shower reads as an expensive shower.
How to do it without damage: Clean the tile with rubbing alcohol, let it dry completely, press the adhesive mounts on firmly, and wait the full recommended cure time (usually 24 hours) before loading it with bottles.
Approximate cost: $15–$35.
Deposit-safety note: Use only caddies rated for wet environments with truly removable adhesive. Respect the weight limit — overloading is what causes falls that chip tile. Remove slowly with dental floss behind the pad at move-out.
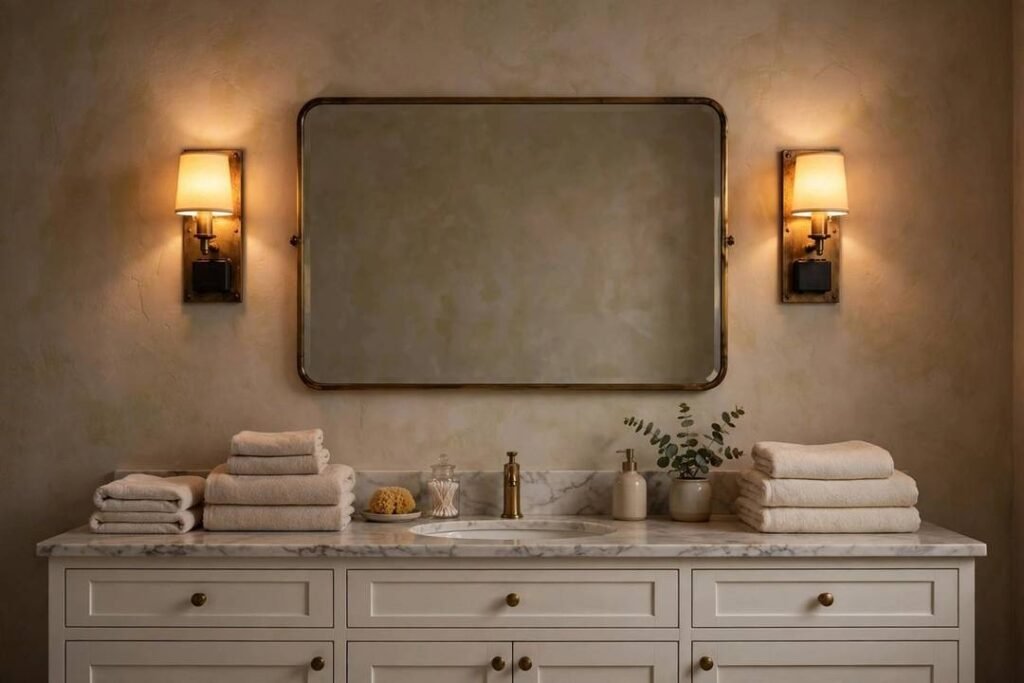
10. Battery-Powered Vanity Sconces
What it is: Wireless wall sconces that mount with adhesive or magnetic brackets and run on rechargeable batteries, often with a remote control.
Why it feels luxe: Flanking the mirror with warm sconces is the single biggest lighting upgrade in any bathroom. It eliminates harsh overhead shadows and gives the flattering, even glow of a dressing room.
How to do it without damage: Mount with the included adhesive brackets or damage-free hanging strips rated for the sconce’s weight. No wiring, no electrician — most are USB-rechargeable.
Approximate cost: $25–$60 for a pair.
Deposit-safety note: Check the strip’s weight rating and clean the mounting surface first. Recharge on a schedule so you are never stuck with a dead sconce before guests arrive.
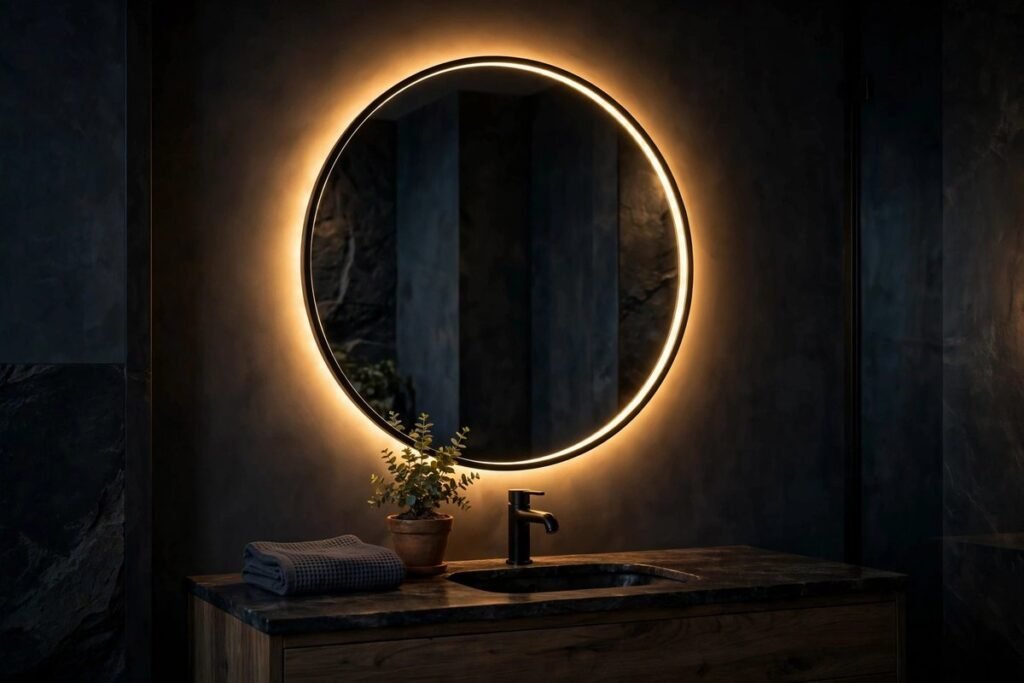
11. Plug-In LED Mirror Light Strip
What it is: A flexible LED strip that sticks around the back or edge of the existing bathroom mirror and plugs into a standard outlet.
Why it feels luxe: Backlit mirrors are a signature of high-end hotel bathrooms. The soft halo of light around the mirror makes the whole vanity area glow and doubles as flattering task lighting.
How to do it without damage: Clean the mirror edge, stick the strip’s adhesive backing around the perimeter, and run the slim cable to the nearest outlet. Choose a warm-white (2700–3000K) strip with a dimmer for the most flattering light.
Approximate cost: $15–$30.
Deposit-safety note: The strip peels off glass cleanly; any residue wipes away with glass cleaner. Keep the cable tidy with small adhesive cord clips (removable) so it looks intentional, not improvised.
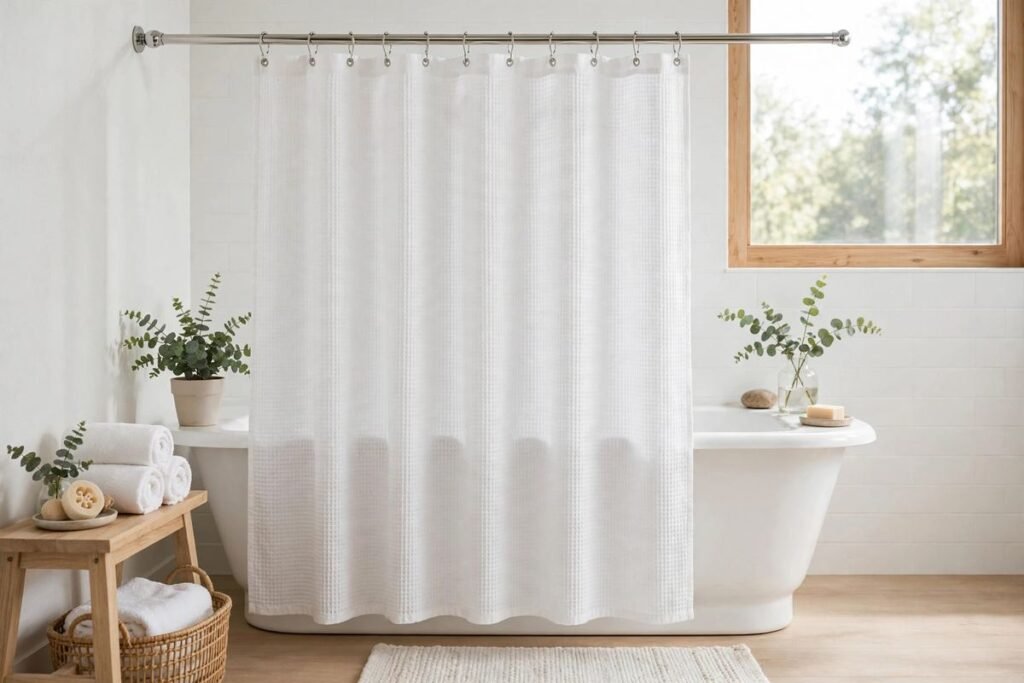
12. New Shower Curtain and Liner
What it is: Replacing the limp, yellowing rental shower curtain with a fresh, quality curtain — plus a new mildew-resistant liner.
Why it feels luxe: The shower curtain is the largest single surface in most rental bathrooms. A crisp white waffle-weave or linen-look curtain instantly elevates the room the way new drapes transform a bedroom.
How to do it without damage: Hang on the existing rod with new rings or hooks. Always use a separate liner inside the decorative curtain so the outer curtain stays dry and lasts years.
Approximate cost: $20–$45 for curtain plus liner.
Deposit-safety note: Entirely reversible — keep the old curtain in a bag in case your landlord expects it back. Wash the liner monthly to prevent mildew buildup.
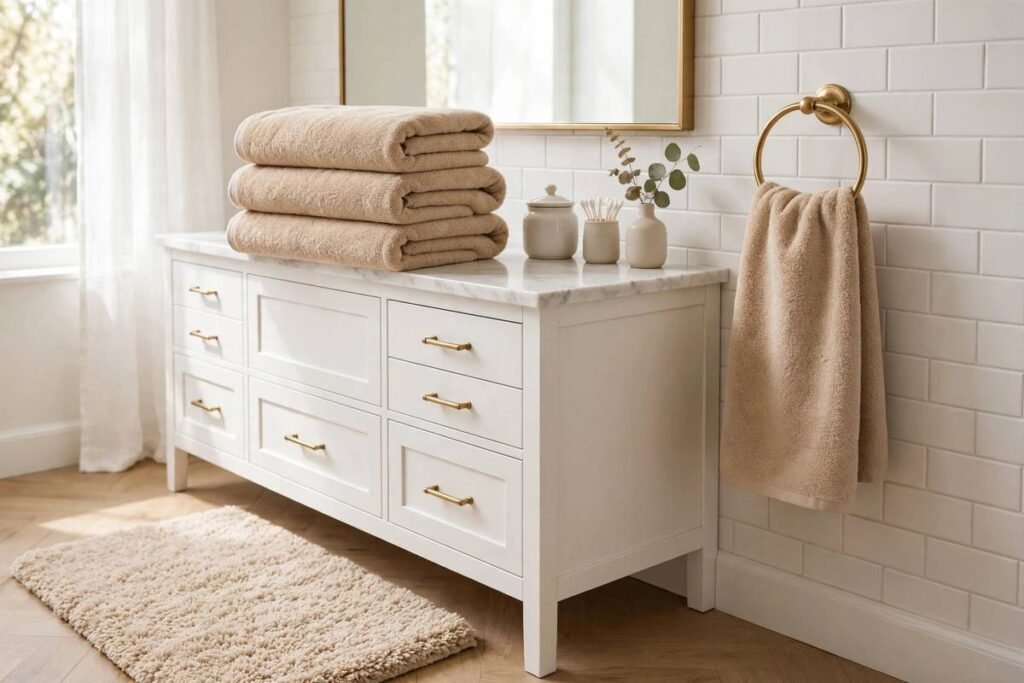
13. Coordinated Towels and Bath Mat
What it is: A matching set of bath towels, hand towels, and a plush bath mat in one cohesive color palette.
Why it feels luxe: Hotels feel luxurious partly because everything matches. Swapping a random assortment of faded towels for a coordinated set in white, warm beige, or deep green makes the bathroom look pulled together overnight.
How to do it without damage: No installation at all — just fold, hang, and place. Roll spare towels for a spa-style display on open shelving.
Approximate cost: $40–$90 for a full coordinated set.
Deposit-safety note: Zero risk. These move with you to the next apartment, so invest in quality once.
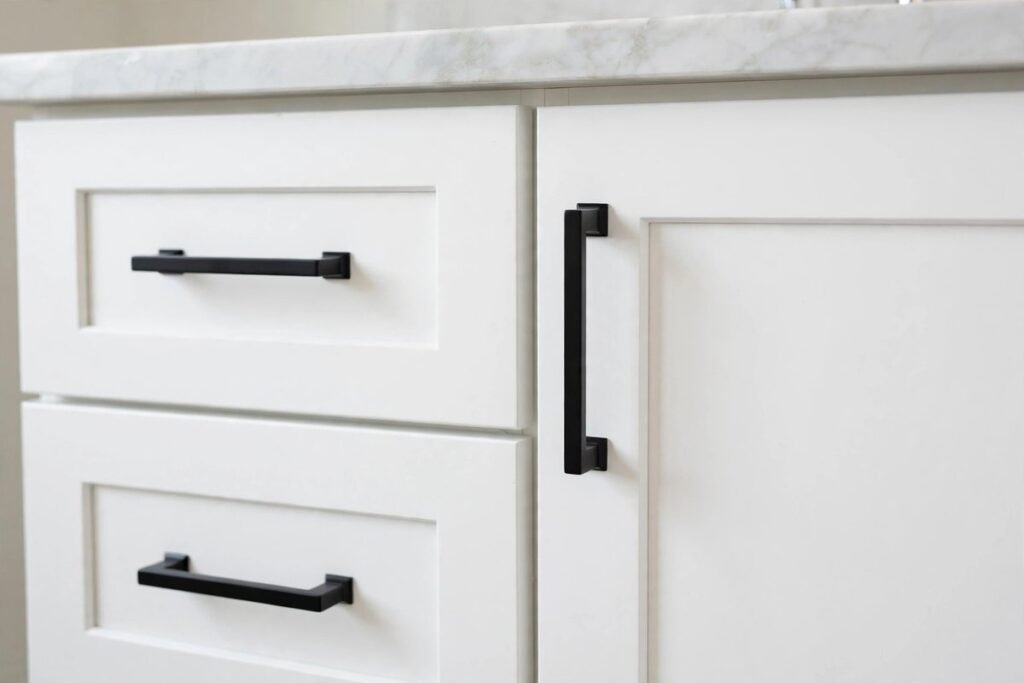
14. Swap Cabinet and Drawer Hardware
What it is: Replacing dated vanity knobs and pulls with modern ones — matte black, brushed brass, or brushed nickel.
Why it feels luxe: Hardware is the jewelry of the bathroom. New pulls can make a basic builder vanity look custom for the price of a takeout dinner.
How to do it without damage: Unscrew the existing knobs with a screwdriver and screw the new ones into the same holes. Measure the hole spacing (usually 3 or 3.75 inches) before buying so the new pulls fit without new holes.
Approximate cost: $15–$40 for a vanity’s worth of hardware.
Deposit-safety note: Bag and label every original knob and screw, and reinstall them at move-out. Never drill new holes — only buy hardware that fits the existing spacing.
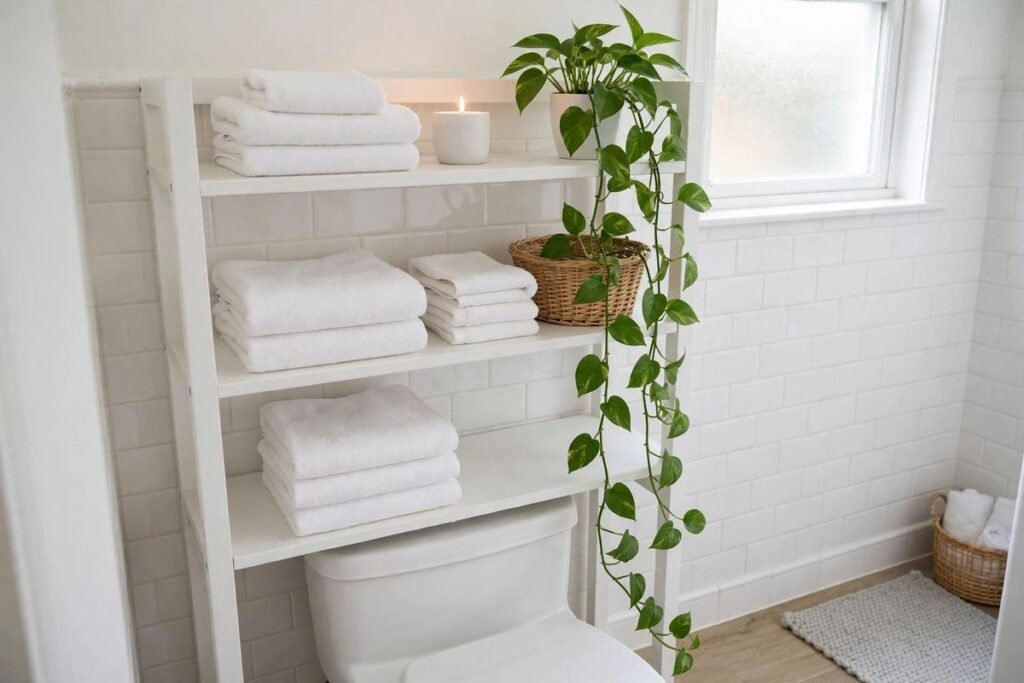
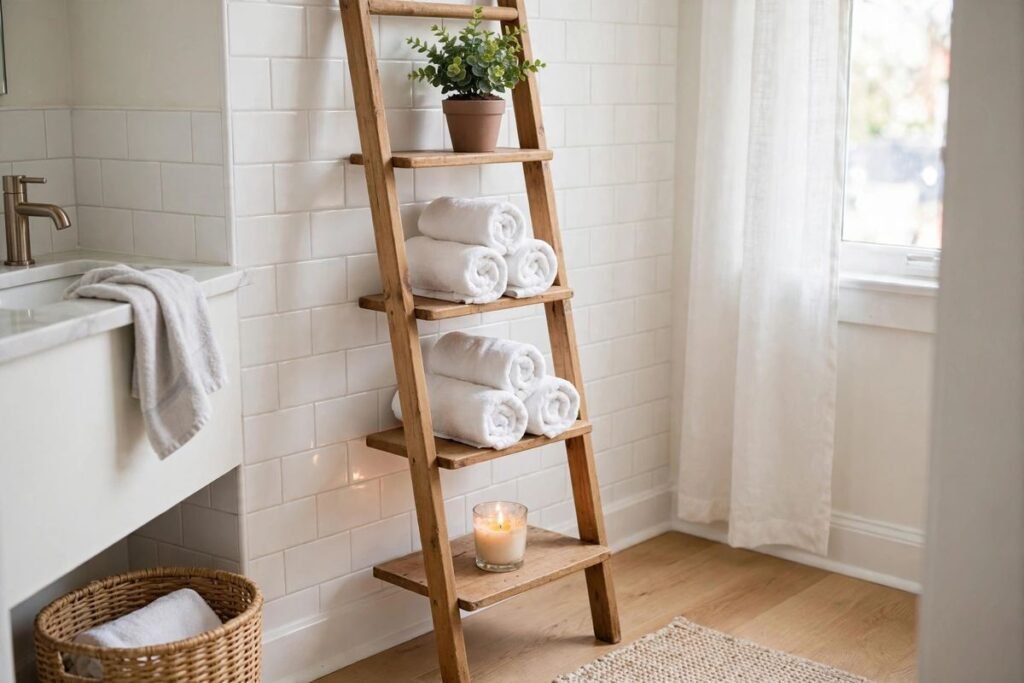
15. Freestanding Ladder Shelf with Plant and Rolled Towels
What it is: A leaning ladder-style shelf placed against an empty bathroom wall, styled with rolled towels, a small plant, and a candle or diffuser.
Why it feels luxe: It adds vertical styling and that curated, lived-in warmth that makes a bathroom feel like a retreat rather than a utility room. The rolled towels alone scream spa.
How to do it without damage: Ladder shelves lean against the wall — no mounting needed. Place small adhesive wall bumpers behind the top rails to protect the paint from scuffs.
Approximate cost: $35–$70.
Deposit-safety note: Freestanding means no holes. Choose a narrow shelf that fits your wall space, and keep the plant in a pot with a saucer to protect floors from water rings.
5 Mistakes That Cost Renters Their Deposit
1. Using “permanent” products labeled removable. Not every peel-and-stick product is equal. Cheap no-name adhesive tiles and wallpapers can bond to paint over time. Stick to reputable brands, and always test in a hidden spot first.
2. Drilling “just one small hole.” One hole in tile is not a small problem — tile cannot be patched invisibly, and landlords charge accordingly. If it needs a drill, find another way.
3. Throwing away the originals. The original showerhead, curtain, knobs, and their screws are your deposit insurance. Bag, label, and store everything the day you swap it out.
4. Overloading adhesive mounts. Every adhesive hook and caddy has a weight limit, and wet environments weaken bonds. A caddy that crashes down can chip a tub or crack tile — damage far costlier than the product.
5. Skipping the move-out reversal. Reversing everything the week before inspection is stressful and sloppy. Start two weeks early, photograph each restored area, and do a final walkthrough comparing against your move-in photos.
Frequently Asked Questions
Can I use peel-and-stick tile in a rental bathroom?
Yes — on walls and floors outside the direct shower spray. Quality peel-and-stick tiles are designed to remove cleanly from smooth, non-porous surfaces. Keep them away from areas with constant standing water, and always test removal in a hidden spot before covering a large area.
Do I need my landlord’s approval to swap the showerhead?
For a simple screw-on showerhead swap, generally no — it is considered normal, reversible use, much like hanging a shower curtain. Still, check your lease for any plumbing-alteration clauses, and always keep the original to reinstall.
How do I remove adhesive hooks and caddies without damage?
Warm the adhesive with a hairdryer for 30–60 seconds, then pull the removal tab slowly straight down (never outward) or slide dental floss behind the pad. Clean any residue with warm soapy water or a citrus-based remover — never scrape with metal tools.
Will a rainfall showerhead work with low water pressure?
Usually yes, but choose wisely. Look for models designed for low pressure (often labeled as high-pressure or low-flow optimized). If your building has very weak pressure, a smaller-diameter rainfall head or a filtered handheld model will perform better than an oversized one.
What is the cheapest renter-friendly bathroom upgrade?
A new shower curtain and liner ($20–$45) delivers the biggest visual change per dollar since the curtain dominates the room. Coordinated towels ($40–$90) come second — both are fully reversible and move with you.
How long does it take to reverse everything before moving out?
For all 15 upgrades in this guide, budget one relaxed afternoon — roughly 3–4 hours. Showerhead and hardware swaps take minutes each; peel-and-stick removal is the slowest step, so start there.
Final Thoughts
A rental bathroom does not have to look like a rental. The fifteen upgrades above prove that the gap between “landlord basic” and “boutique hotel” is not a renovation — it is a series of smart, reversible swaps that respect your lease and your deposit. Start with the showerhead and the shower curtain for maximum impact in a single afternoon, then layer in lighting and storage as budget allows. When move-out day comes, everything goes back in the box it came from, your deposit stays intact, and every upgrade moves with you to the next place. That is the real luxury of renting done right.